Are you ready to take your office on the road with you this summer? I know that working outside or at least on the go, tops my list of ways to enjoy the warmer months. If you have been following me on social media, you already know that I am currently on my way to Aruba for a summer beach vacation . Yes, in a few short hours from now, I will have my feet planted firmly in the sand, cocktail in hand and laptop by my side. Of course, there is no better way for a #BLOGBOSS to work when traveling, especially since this one happens to be a solopreneur and needs to make sure the lights stay on, even when I am on holiday. So, for this installment of Office Oasis, I want to share with you some great options for taking your work with you. That may mean getting some work done during your summer vacation or it may mean checking your email by the pool, but either way, if you need to work while you are out and about this summer, these accessories will help you get it all done in style when you are out of office!
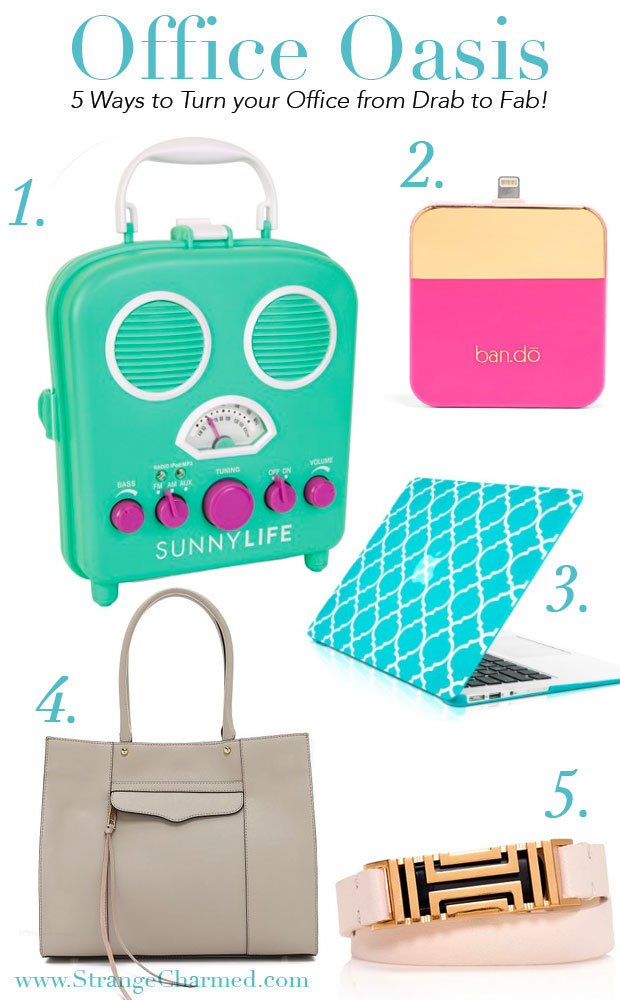
1. Water Resistant Speaker: If you are working by the beach or by the pool and want to keep your productivity playlist going, this is the perfect option for you. Portable speakers are awesome, but this one actually helps protect your tech from water, while keeping those jams on shuffle!
2. Smartphone Charger: Well my iPhone may have gotten bigger, but I can’t say I’m getting that much more battery life from the thing. Since I count on my phone for nearly everything, it’s important to keep a portable charger in my bag. Great for those early mornings and late nights!
3. Hardshell Laptop Case: I love keeping my Macbook Air in a hardshell type case when I am traveling to protect it from any extra bumps or bruises it may encounter on the road. This Moroccan inspired quatrefoil print case screams summertime especially in this lovely pool hue, but it comes in other fun colors as well!
4. Neutral Summer Carry All: I love a neutral bag for summer and this Kahki colored structured tote from Rebecca Minkoff is the perfect carry all for your laptop, accessories, makeup bag and even a file or two. Although you may be conducting business at the beach, there is no reason that you need to look like it and a tote like this is the perfect blend of work and play!
5. Adorable Summer Inspired Tech Accessories:Since you will be out and about this summer, you’ll certainly want to keep an eye on your steps. I love this double wrap bracelet designed by Tory Burch for the Fitbit Flex. It comes in a few perfect-for-summer colors and makes a great accessory!
I hope you make the most of your summer travels by taking advantage of any out of office work arrangements you can make and creating your own on the go office. I hope these items gave you some tips and things to think about while you are working and playing this summer! I’d love to see your summer office setup, whether that’s in an actual office or out and about. Please tag me in your photos on Instagram with the hashtag #strangeandcharmed so I can like them!
Yes, it’s true! Even a productivity guru has trouble getting it all done! I’m not immune to bouts of inactivity, and I’m certainly not hard on myself about it because it’s completely normal. Everyone goes through periods of time where they are very productive and then periods of time where they are less productive. Creativity, inspiration and productivity all work in waves and when the wave hits you need to be prepared to ride it, and when the wave recedes, you get a brief moment to relax. Right now, my wave is receding and I am waiting to pounce on the next one as soon as it arrives! Because of this, I didn’t get everything done in May that I wanted to accomplish, but that’s okay!
You see, normally at the end of each month I compile a post called On My iPhone where I share the applications, podcasts and other online media content I have been enjoying, however, I struggled a bit in May and so I decided to skip this post and instead, share a roundup of articles I read recently. If you love reading articles on self-improvement, business and productivity, you are going to love the articles I’m sharing today! They are packed with great tips, inspiration and resources to help you make the most of your wave when it hits.
Like I said, I hope you enjoy these articles and that you found something to inspire you to catch your next wave of productivity! Let me know if you read anything awesome recently that you think I’d enjoy by Tweeting me a link!
I feel like May is such a wonderful month for working and office supplies. The weather is much nicer (at least in the Northeast US where I live) and you can wear much more fun and colorful outfits to work, so why not bring a little bit of that whimsy into the office? After all summer vacation is right around the corner and while you are dreaming of tropical beaches and fruity cocktails you mine as well be surrounded with the colors and accoutrements to liven your imagination!
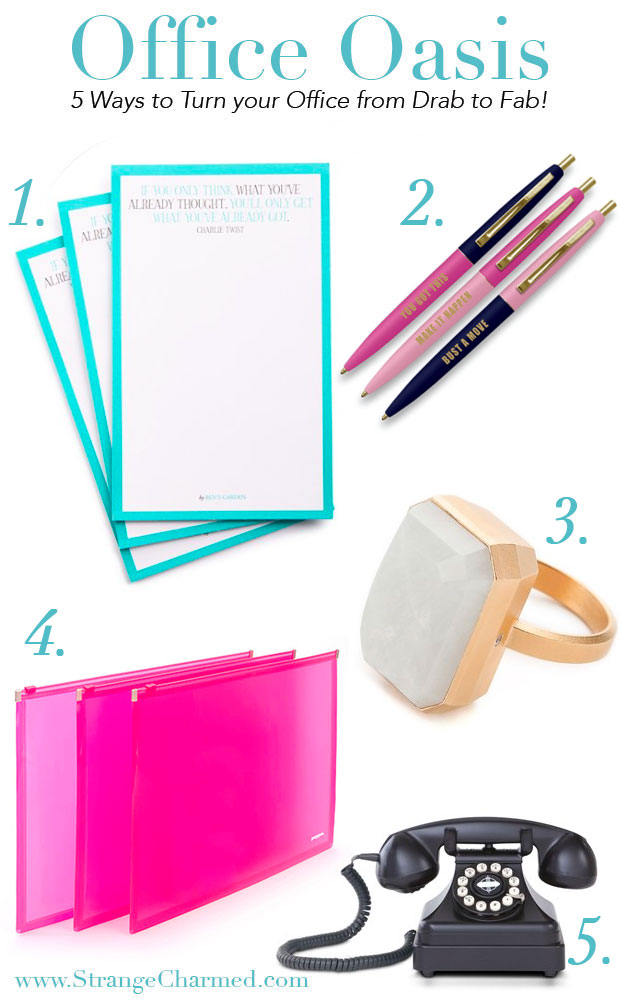
1. Brightly colored note pads: Notepads are probably one of the easiest elements of your office space to switch out seasonally, so why not grab a pack of brightly accented papers? Of course, I love these aqua framed pads from Ben’s Garden with the cute quote at the top!
2. Mix & Match Pens: I just ordered myself a set of these adorable pens from Snow & Graham and I can’t wait for them to arrive. I love how retro they look but fun at the same time with their quirky yet inspirational quotes! There really isn’t much to say about pens, except of course, that you can never have too many!
3. Ringly: Ever since I received my Ringly last month, I have been obsessed! In case you aren’t familiar, the Ringly is a wearable tech ring for women that looks like a lovely cocktail ring but actually pairs via Bluetooth to your phone to alert you of calls, texts, emails and other various alerts that you control! Cool, right?
4. See-thru Zip Folios: I really love see-thru office supplies (hence my love for acrylic organizers) and this set of three neon pink zip folios from Poppin are amazing for the start of summer! These are a great way to store items and papers that you want to corral, giving you a great portable solution for tossing them into your briefcase! That or you can just leave them on your desk because they are seriously that pretty!
5. Retro Telephone: I don’t know about you, but this phone looks like it’s straight out of Mad Men and I love it! This rotary style desk phone gives such an elegant feel to any desk space. I could just imagine a magazine editor or a fashion designer leaning back in their chair chatting on this lovely throwback. Serious, serious desk envy!
I hope these tips gave you some great inspiration for your office decor! I’d love to know what challenges or issues you may be facing in your own personal office space that I may be able to address for you or provide you some guidance on for future installments of this series. Feel free to let me know in the comments below and of course, I’d love to see your office spaces, so make sure to tag me in your Instagram photos @MissTrenchcoat!
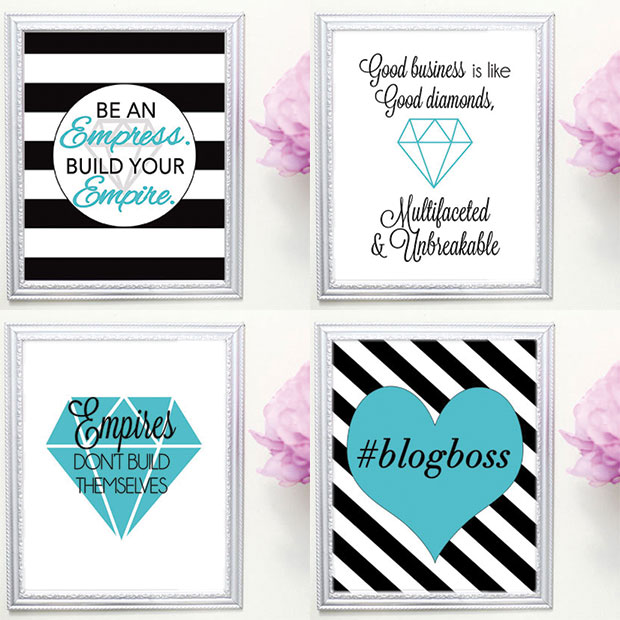
I wanted to share with you today just a few updates for new products that have recently hit the Strange & Charmed Shop! I know I don’t always do the best job of keeping you informed of my new designs, and I’m hoping to do a better job of that in the future. Okay, so the first items I want to show you are a new set of printable journaling cards inspired by my Empire Building Program. This set of four designs are my new favorite inspiration cards for my planner and I actually use some of them as page markers/dividers as you can see in my latest YouTube video all about my business binder set up! Whether you are a member of my Empire Building Program, reading through the individual workbooks or just an aspiring #GIRLBOSS who has been following along with the Glampire Chat, I hope this set of inspirational cards brings a little motivation to your business and day!
Now, if you would also like some full size inspirational art to add some motivation to your office space or home, my new Wall Art Designs that coordinate with my Empire Building Journaling Cards are going to be perfect for you! These 8″x10″ graphics are also printable and sold individually so you can choose the art that fits your style. Whether you are a #blogboss or an Empire Builder, these unique designs are sure to add a punch of style and inspiration to your workspace.
I hope you have all enjoyed this little update with the newest products to hit the shop! I am actually currently working on a new collection of art and journaling cards for this summer that I really think you are going to like as well! Think, the perfect summer getaway! So, let me know in the comments how you like these designs and feel free to leave me some suggestions for new designs or products you are interested in seeing in the Strange & Charmed Shop! As always, thank you so much for your support, I love creating inspirational printables for you all!
For a number of years now, I have been very interested in the concept of personal mantras. For those of you who may not be familiar, a mantra is traditionally a word or sound that one uses during meditation to focus energy and concentration, but more liberally speaking, a mantra is also an affirmation or catch phrase that a person may use on a regular basis. The latter is really what I have been preoccupied with because I am someone who does really believe in the power of affirmations and positive self talk as a means to overcome a variety of issues. I truly believe that if a person believes something is true, that belief can actually change them at their very core, and the best way to get someone to believe something is to have them repeat it over and over on a regular basis until a simple phrase becomes engrained in their psyche.
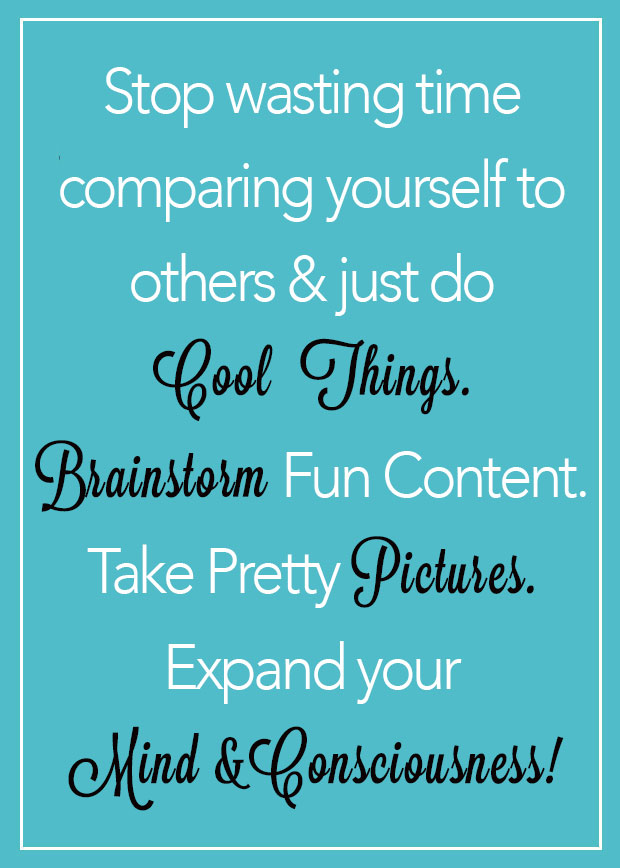
So, I would say that last year I went on something of a personal quest to find my own mantra, something that resonated with me and helped me to address the specific issues I was having in my life and business. I tried out a lot of popular affirmations, but inevitably, nothing really felt like it was mine, until one day I decided to write myself a set of directions to overcome some mental blocks I was having. At the time, I was spending may too much time consuming content online and not enough time working on my own. I knew this was a waste of my time, but I kept finding myself in this trap that I would set for myself where I got bored, went online for some entertainment, saw all the awesome things other people were creating and then got own on myself because hours had passed and I had achieved nothing of substance for myself. It was causing me some serious anxiety and a feeling that I was literally wasting my life. I didn’t like that feeling. I really wanted to feel like my days were filled with a good balance of working on my own priorities and spending some time enjoying myself and other people’s content, in a normal and healthy way. So, I knew that I needed to give myself a plan, some directions and rules to guide how I would spend my time in a general way. First I wrote out what I was going to stop doing, then I wrote out what I was going to do instead, and finally, I wrote out a list of ideas and options of priorities to focus on. I really liked this short and simple statement so much that I kept it on a page in my planner right towards the front so I would always see it. I eventually realized that as time passed, I had it memorized and actually found myself repeating it to myself whenever I was getting overwhelmed. Unconsciously, this statement had become my personal mantra and without realizing it, I had drastically improved my situation. All of a sudden I was getting more work done and spending less time worrying or feeling anxiety over my work. I was producing better content and the ideas were flowing out of me at an unbelievable rate. I had crafted my own mantra and it was actually striking a chord with me on a daily basis!
Now, I know that this post can seem a little far out there, and I understand if you think this is a little hokey. The thing is though, that I actually believe that this mantra helped me to change my situation and make my life better (of course, or else I would’t be writing a blog post about it) and I think it is worth a try for you. Even if this isn’t your normal cup of tea, I challenge you to weigh the benefits and risks of this activity. Creating your own personal mantra isn’t complicated or difficult, so long as you understand what it is that you need help with and have some solutions in mind for correcting your situation, there is really no harm in giving this a try. As they say, you have nothing to loose and everything to gain. So, here are my tips for crafting your own personal mantra.
1. Think about an area of your life that you are dissatisfied with, but you also know you would have the power to change: Understanding what we can and cannot change is a hard task, but think of this in terms of problems you have control over. If you are a student in high school and live at home with your parents, I don’t think it’s reasonable to say you can change your living situation, however, if you are a thirty year old adult who still lives at home, you have much more control over that scenario. Things like your appearance and attitude can be changed, but you can’t expect to change someone else’s.
2. Swap one bad habit with one good habit:At the time when I wrote my own personal mantra, I didn’t realize that their is a lot of power in controlling your routines. So, when you have something you want to change, it’s best to swap one behavior for another. So, once you know what area of your life you want to change, think about how you could replace a bad habit that perpetuates your issue with a good one. It may be hard to stop doing something, and it may be difficult to add a totally new behavior in, but when you swap one for another, it’s much more manageable.
3. Give yourself options: I’m the type of person who does much better with change when I know I have more than one option available to me. So when it came to having a successful mantra that spoke to me, it was critical that I didn’t box myself in to one narrow concept. Giving myself more than one option for how to spend my time instead of waisting it showed me examples that I could then put into action, and it also provided me with flexibility depending on my mood. For example, if you are someone who is trying to loose weight and you know that snacking is an area that gets you into trouble, you may want to tell yourself to stop snacking on bad food and replace it with good food. That’s great, but taking it a step further and saying exactly what foods you have the option to eat will make it much easier for you to choose that healthy option when the time comes because you have more to choose from.
Now, try putting these simple rules in place as you craft your own mantra, and then of course, make sure you keep your mantra front in center in your life until you have it memorized. Once you have it memorized, make it part of your routine to repeat your mantra to yourself throughout your day. Set a timer or reminders on your phone if you have to, but make sure you are using your mantra so that you actually start benefiting from it!
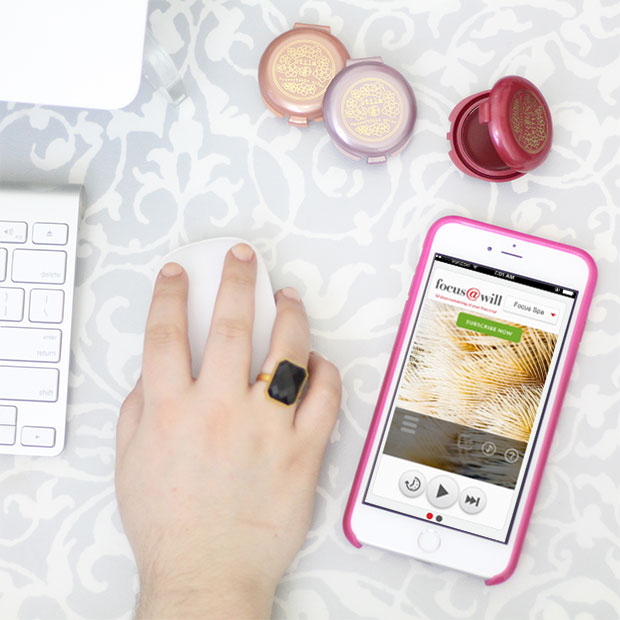
As a productivity junkie, I am always looking for the hottest new apps that promise to help me boost my productivity! I’ve tried games, guided meditation, and brainwave boosters, but most recently I have been using an app that creates a playlist of scientifically optimized productivity music to help you focus called Focus@Will. How’s that for a name, right? Who doesn’t want to have complete focus at will? I know I do! So when I first heard about this app, I knew I had to give it a try, so I downloaded the app, signed up for a free trial account and got started.
Now, the thing you need to understand about this app is that it’s essentially a semi-customizable playlist of relaxing, almost sound machine types of music. The UI of the app itself is pretty minimal and I found that it wasn’t quite adapted to my iPhone 6 Plus’ large screen, but then again, I guess that doesn’t matter very much because you’re not really supposed to be spending much time looking at your iPhone screen with this app on!
For those of you who may already be familiar with the concept to working to music, you may be wondering what makes this app so special? I think it all comes down to the thought that classical and similar styles of music make one more productive than other types of music, and in fact on their website, Focus@Will explains that modern music that most people listen to through the workday is not effective in forcing our concentration because such music normally evokes an emotional response that distracts us. Now, I can understand that! Personally, I am not productive at work with music on, I do better when I listen to music while cleaning the house or doing another physical activity that doesn’t require much thought. If you tend to work with your favorite playlist on in the background, you may want to ask yourself how satisfied you are with your productivity to really understand if this is an app you would want to try!
So, moment of truth, does the app actually work? Well, as I sit at my desk writing this review, it’s about 7:30 in the morning and I’ve been up since 6am working on blog posts, listening to and enjoying the music from the app. I haven’t been distracted by notifications, I haven’t taken moments to pause and rest, unsure of what to write next. I’ve been enjoying the soothing sounds radiating from my iPhone, and I think the science behind this app is correct. I don’t focus this well listening to regular music and I find that even in complete silence, I am not as productive as I seem to be as I type along to the rhythm of the spa playlist I’m currently enjoying. So, I would have to say that for me, yes, this app is working. Now, will I be signing up for a monthly subscription to the app once my 30 day trial is over? That will take some more thought. I am not completely sold on the app as a monthly subscription, although I would have no problem paying out $5.99 or even upwards of $10 to have full access to the app without a subscription fee or at least the option to buy a pre-made playlist flat out. I’m not entirely sure what sort of updates and value the Focus@Will team is adding on a monthly basis to validate the charge, which is my major hesitation right now, but I would say the app is nice, I do see a use for it and I would pay something for it, I’m just not sure how much value will come from the subscription!
If you have ever tried Focus@Will let me know what you thought of it in the comments below. I’d love to hear about your experiences with the app and if you are subscribed, let me know what value you feel you get from the app on an ongoing basis! If you have never tried Focus@Will before, definitely give the app a try, it’s available for download on iOS and Android devices and there is even a desktop client as well!
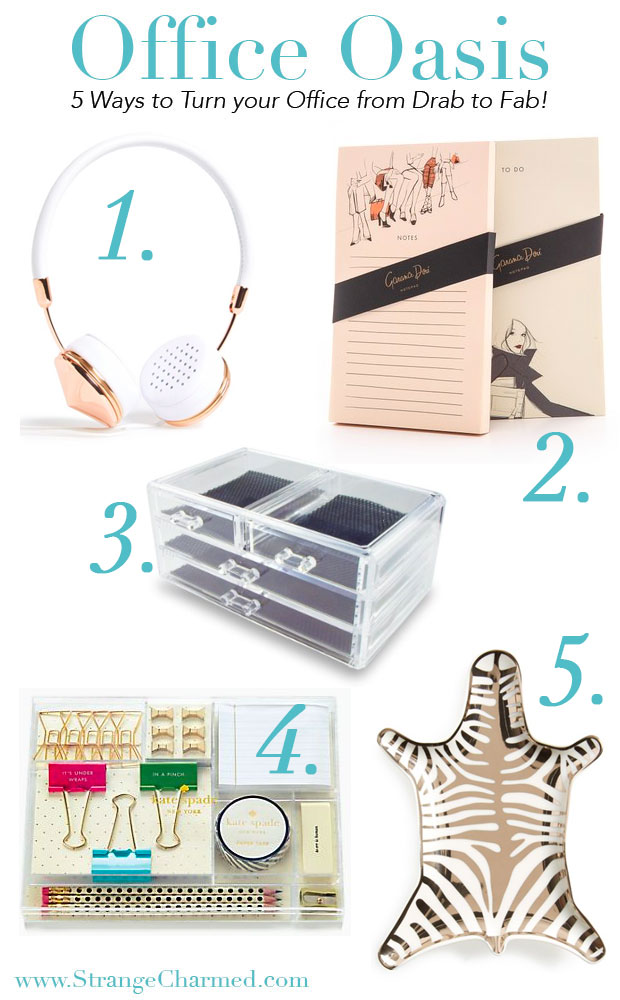
Last month, you told me that you really liked this Office Oasis feature and that you wanted me to continue with it and so I shall! Some of my favorite items in my office are cute little desk accessories and stylish stationery items, so for April, I have selected some functional pieces that do double duty. From a coordinating stationery box to the hottest pair of headphones a #girlboss could own, I’ve got your needs covered!
1. Stylish Headphones: The Frends Layla headphones are probably the most iconic feminine pair of cans on the market. They are available in a few different color choices, however, I love the white on rose gold look the best! Nothing is more feminine and sophisticated to keep a #girlboss focused on her work!
2. Fashionable Note Pads: I personally own, use and love this Garance Dore set of note pads from Rifle Paper Co! After using these you will never want to go back to a plain steno pad again!
3.See Through Storage: I get asked all the time about the acrylic storage container that sits on my desk and organizes most of my small office supplies and this is the one that I use! I love the look of the multiple drawers and particularly the sculptural effect of the drawer handles. It’s so reasonably priced, there is no reason to say no!
4. Chic Stationery: I think we can all agree that Kate Spade makes some of the chicest office supplies out there, but let’s be honest, owning her entire collection is going to cost you. That’s why I love this Whistle While You Work Tackle Box filled with a variety of Kate Spade office goodies, for a very reasonable price.
5. Catch All Dish: I always have a variety of little knick-knacks on my desk and to make sure they don’t go rolling all over the place, I like to keep them in this cute little Jonathan Adler Porcelain Zebra Dish! On a daily basis you will find anything from perfume and makeup items, rings and jewelry or even paperclips corralled in this lovely little dish. It’s definitely a must have for my desk!
So those are this month’s office picks. I hope you find something that you like as well as need in the selection above. Nothing makes me happier than when I can find a new office organization item that doubles as wonderful decor and of course, helps me boost my productivity! Let me know in the comments which items you loved the most and of course leave me recommendations for other products you think I should feature in future posts!
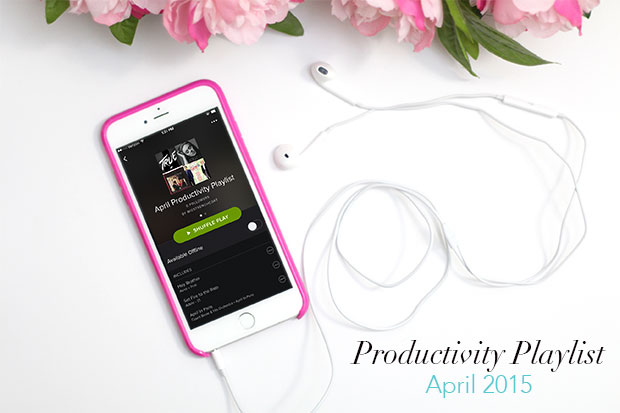
Good news everyone! It finally feels like Spring in the Northeast of the U.S., YAY! I am very excited for the warmer weather which means I can dress in my favorite, light layers and flats, and take Starbuck for (almost) daily walks to help me break up the work day. This month, the tunes I’m loving all harken back to spring or at least some sort of life transition. I’m feeling very empowered for the season and just want to jump in and enjoy every moment of it. I feel like with this new season, I can literally achieve anything I set my mind to, and my mind is filled with curiosity that I am just waiting to explore!
Up Around the Bend by Creedence Clearwater Revival
Radioactive by Imagine Dragons
White Rabbit by Jefferson Airplane
Defying Gravity by the Cast of Glee
Don’t Rain on My Parade by Barbra Streisand
I have to admit, I love doing this post each month because it’s a relatively simple post for me, but I also LOVE how so many of you have reached out to tell me that you are also enjoying these playlists and giving me awesome suggestions for new music for me to check out as well, so thank you all for interacting with me around this very simple, but powerful medium of music! So, please keep those comments and suggestions rolling in and I hope you enjoy this month’s selection!
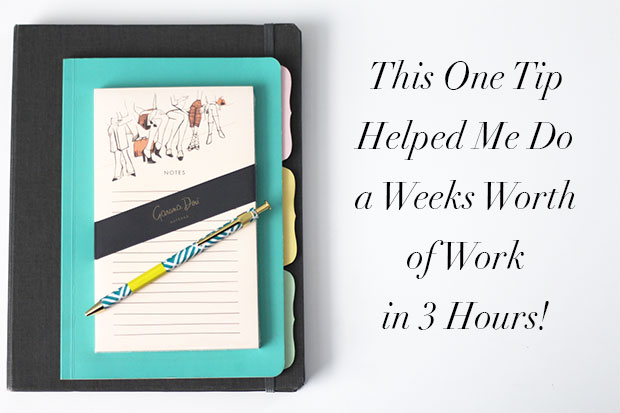
I am not sure whether I am a morning person or a night owl. I do tend to have more mental clarity in the mornings, but since I work from home for myself, I normally allow myself to wake up naturally in the morning and never set an alarm unless its completely necessary. However, that tends to mean I sleep in more often than not. Of course, that’s because I normally work later into the evening hours and don’t actually go to sleep until after midnight. But, the other day I had the most productive day ever, and it all took place in the span of 3 hours in the early morning.
A few Fridays ago, I woke up naturally at about 4 am. After tossing and turning for a while trying to get back to sleep, I decided that I should make the most of the situation and go to my office and get some things done, expecting that sleep would return to me after a half hour. Three hours later, I had completed all my writting and design work for the upcoming week, a chunk of work that would normally be broken up over a number of days! I was floored by my early morning productivity and wondered to myself why I wasn’t able to get this much done during normal business hours. This is what I realized:
The morning is a naturally productive time for me
I won’t go as far as to say that the morning is a naturally productive time for everyone, but for me, I do tend to have a lot of clarity and energy in the morning. After waking up naturally from a good nights rest, my mind is just fresher in the morning!
The morning is void of obligations
I loved sitting quietly in my office with a fresh cup of green tea, not having to worry about my husband or my dog. While I worked, the hubster and puppy were fast asleep in bed, and I didn’t have to deal with the normal worry of my family obligations.
The morning is great for deep focus
These three hours were so productive to me not just because I was energized, and not just because I had peace of mind that I had no obligations to worry about, but it was also so productive because I had none of my usual distractions. I wasn’t getting a barrage of text messages, I didn’t have to take calls from my clients, I wasn’t focused on checking my email! I was just able to sit in my office at my desk and deeply focus on my work. I always knew that my daily distractions were taking time away from my productivity, but until now, I hadn’t ever seen how much work I could do with zero distractions. It was eye opening!
So if you are looking to get more done in your day or knock out a project that has been lingering, I highly recommend this one tip of waking up early as a means to jumpstart your productivity. To be honest, I don’t think I will be forcing myself to wake up at 4:30 am everyday to get more work done, however, after seeing how much I was able to do in one morning, I am seriously planning to try this one day a week. One night a week I will get myself to bed early and set an alarm for a few hours earlier than I normally wake, and I will spend that time working on items that will help keep me ahead on my workload. Perhaps it will grow to twice or three times a week, perhaps it will just remain one, but all I know is that it will be worth it for me to keep up this habit and I’m excited to see how many more projects I will be able to take on during the week now thanks to the early morning productivity session that knocks out a good chunk of my workload!
If you give this tip a try, I want to know about it! Leave me a comment down below and let me know if this is something you already do or if it’s something you may want to try! I’d love to hear about your experiences and insights you gleaned from it!
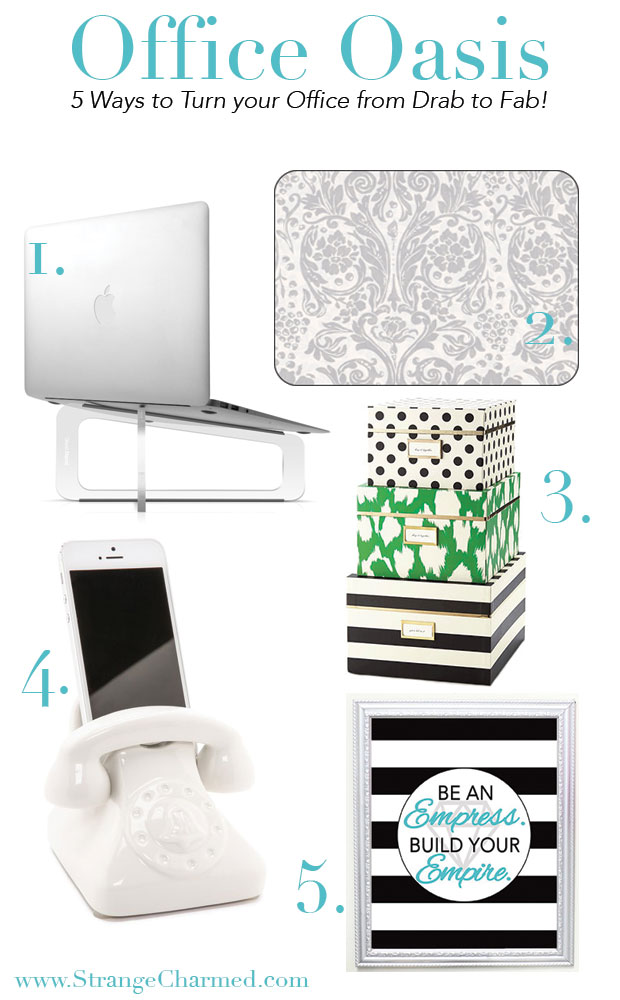
You know I love me some gorgeous office decor that is both functional and inspirational! So I decided to start this little series where I highlight 5 ways you can turn your office from drab to FAB without spending a ton of money! Seriously, how awesome is this series going to be?!? I’m so excited to share my favorite office trends from DIYs you can do on the cheap to beautiful and functional office supplies that will add personality to your desk!
1. Laptop Riser: Not only is a laptop riser an ergonomic way to reduce eye and neck strain while you are working, it also helps free up valuable space on your desk. I am frequently asked about where I purchased my laptop riser, it’s the Ghost Stand by Twelve South and you can get a great deal on yours here.
2. DIY Desk Blotter: I love the way my desk looks with this added element of color and interest in the form of a super easy and inexpensive desk blotter. I actually have a video about how to make one, along with a few other awesome DIY office products that you will definitely want to check out for some great office inspo!
3. Colorful storage boxes: I love this set of three nesting boxes from Kate Spade! They are an easy and inexpensive way to hide office clutter or organize and store files, paperwork, or your stationery collection! It’s funny how a simple thing like a pretty box can totally hide a complete mess of items, and actually look so polished and posh!
4. Smartphone Dock: I love having a dedicated spot to keep my iPhone, and this Jonathan Adler rotary style dock is my absolute fave! You can actually use this dock with a variety of phones because it has a nice wide area for your phone to sit in and an opening in the center where you can attach any charging cable. It’s like a totally functional piece of desk art!
5. Wall Art: I absolutely love the look of a gallery wall, especially on a blank wall of an office. It’s a great way to add special moments, images and inspirational quotes to your work space that keep you motivated and on task! You can check out my gallery wall here, and if you are looking for some inexpensive options for art, make sure to check out my shop for printable wall art that you can use all over your home!
I hope you enjoyed these ideas and this first installment of Office Oasis! Let me know in the comments if this is something you would like me to continue on a regular basis, because I don’t know about you, but I could write about office supplies all day every day! If you use any of these tips currently or get any inspiration from this post, I’d love to see a picture of what you come up with! Upload your pic to Instagram and use the hashtag #StrangeandCharmed and make sure to tag me, @MissTrenchcoat so I can like and comment on your pics!