My planner aesthetic has certainly changed significantly over the past several years, as has the way I choose to decorate the planner itself. Where I was once drawn in by brighter colors and mixing bold patterns, adding flair to my planner with stickers, washi tape and other ephemera- now I prefer a cleaner, simpler and more elegant look. My color pallet has gone down to basic black and white with muted tones of nude and grey. I do love a pop of emerald green in the mix- used sparingly of course! But things have been refined quite a bit to create a vibe or aesthetic for my planner that aligns more with my personal style.
After all, I truly believe that although our planners are at their core, tools for our productivity, it’s important that they fit into our lives in a way that makes them inviting and exciting. I consider my planner an accessory of sorts- a living vision board of my aspirations brought to life in paper and ink, expressed in words and images. The way I feel about my goals must be reflected in the way I feel about my planner. I want to open it up each day- multiple times a day- to feel aligned with where my life is headed, excited about the things I get to do and the opportunities I’m creating for myself in my life. That’s why it’s so important for me that my planner has an intentional vibe (or vibration) in line with a specific aesthetic, because our planners can be great tools for manifestation if we let them.
So, today I want to share a few tips with you to help you create a unique vibe and aesthetic for your planner without needing to use stickers or washing tape to decorate. I know for many of us in the community- where we may have once been drawn to this ephemera, as we have progressed, it has become the content of our planners that has really taken center stage as opposed to the hobby crafting or decor. But that doesn’t mean our planners have to be bland. They can and should absolutely be beautiful and well organized as a reflection of the plans we make inside of them.
Without further ado, here are 5 ways to style your planner without stickers and washi tape.
Choose and stick to a color scheme.
The quickest way to create an intentional vibe for your planner is to define and stick to a color scheme by choosing a handful of colors that work together to tell the visual story of your planner. These colors you choose should then be used to help you decide different aspects of your planner like the color of the cover or binder, the paper and font colors used for inserts, your pen and highlight colors, and the stationery items you keep inside your planner. One comment I often receive about my planner (as well as other aspects of my life) is that “everything matches” or rather that everything coordinates. Matching is when everything is the same color/pattern, coordinating is when everything is within the same intentional scheme. The simplest way to get things to follow an aesthetic is to limit and stick to a color scheme and ensure that nothing deviates from that color scheme.
Layer textures and patterns in pockets.
Next, let’s cover the art of layering. As with other aspects of design like fashion and home decor, layering is another technique that can be used to create a deliberate aesthetic in your planner. For this technique, you will need to rely on the organization pockets of your planner to create a three-dimensional visual experience when you open the planner up. Now this can be done in the pockets of the cover or through the use of additional pocket inserts that can be added to the front of you planner to create visual depth. Using the pockets of your planner cover as a prime example, layout a few key pieces of inspiration mixed with functional stationery within your color scheme. Keep in mind that its good to vary items by size so that each item is visible, and that working with odd numbers is always more visually appealing. So that would mean if you are decorating a pocket, choose 1, 3, 5 etc items to put in the pocket as opposed to 2 or 4. As you can see in my example, my passport pocket has 5 items of varying hight organized so that each item is layered but visible. I’m also using a paper clip to ensure that certain items stay put and don’t move around in the pocket, but this clip also adds an additional element of depth as well.
Select a cover with the right vibe.
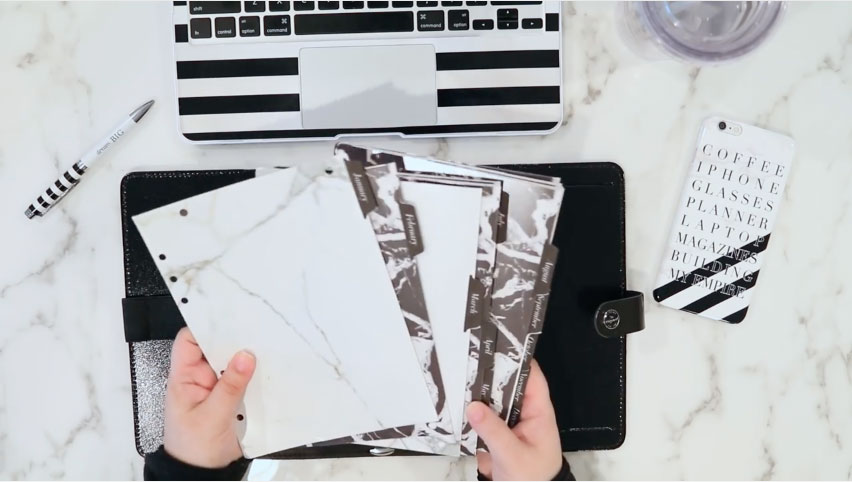
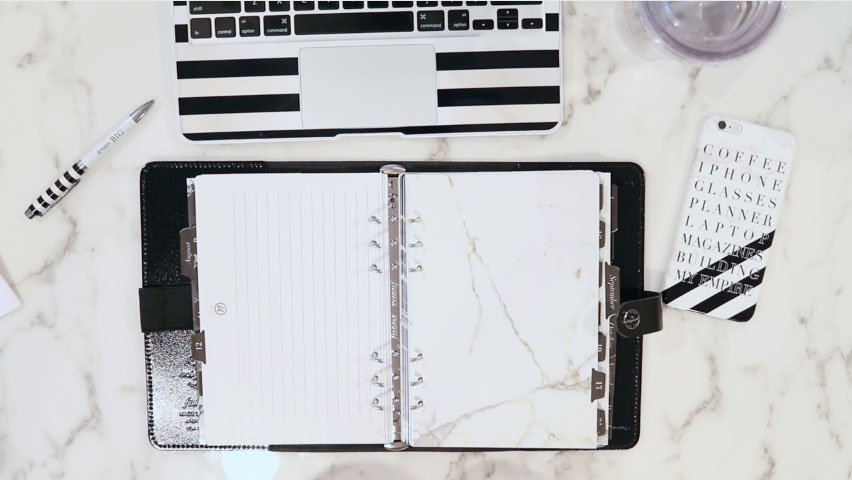
For this tip I am referencing both the planner cover itself as well as the front dashboard of your planners inserts. These two elements of your planner are very much the first thing you see when using the planner, so it’s important that thought and intention are put into their selection. When it comes to the actual cover of the planner, it’s important that the style, color, pattern, material and even the brand of the planner itself be in line with the vibe you are aligning with. You could want a simple black leather cover and assume any black leather cover will do, but all brands and all leathers are not the same. Make sure that the quality and feel of the planner is in line with your style. Then of course, when it comes to the inner cover, or dashboard of your planner, although this element will likely be some form of paper or plastic, choose something that sends a direct message through the imagery, pattern or style. That message, of course, should be the vibe you are setting for your planner and it’s aesthetic!
Add vellum overlays throughout your planner.
An element of planner decor I have long admired but only recently began to use myself is printed vellum overlays. In one sense, they are a wonderful way to add inspiration to your planner through printed words or imagery without having to decorate inserts with stickers and washi. But what I also love about vellum overlays is that they again add a sense of dimension to your planner because depending on what you have printed on them, you can usually see the next insert in your planner underneath it. If you are someone who likes to print and add pictures or quotes to your planner, consider using vellum paper next time as it really does stand out by adding an unexpected level of interest to your inserts as you are flipping through your pages!
Fill your planner with goals and dreams that truly light you up.
I’ve said it before and I will happily say it again- if the sole purpose of my planner is to keep track of mundane life tasks and appointments, I need a planner like i need a hole in the head! I keep a planner, not to manage my time but to manage my goals! A goal is a dream with a deadline, yes? And those goals aren’t going to manifest themselves! They take a fair bit of intention, planning and execution to come to fruition and that’s where your planner comes in. No matter which planner you are using and what your planner looks like, never loose sight of the fact that your planner is the physical manifestation of your future and life story being written in real time- and that’s a serious vibe that no amount of aesthetic can ever beat!
I hope these 5 tips have inspired you to create an intentional vibe for your planner this year! I would love to hear what you thought of this information and the aesthetic that you’ll be using in your planner so please do leave me a comment below!
I was recently presented with an opportunity to purchase something of a Unicorn binder for myself and I took it! Here is a walk-thru of my updated 2020 Planner Setup now featuring my Chanel Camellia Desk Agenda. For those of you familiar with luxury goods or the luxury planner world, this is a similar concept to the Louis Vuitton Desk Agenda and is something of a notebook or planner cover that can be used as a planner organizer as well. My Chanel Agenda is set up using my 2020 Master Planner Inserts bound with disks and some fun stationery accessories. I hope you enjoy!
ALSO, for those of you interested in this planner, I wanted to point out a correction to something I said in the video. I stated that this planner was calfskin, however, it is goatskin. This is a little different than calfskin or lambskin. It’s soft like lambskin, with a bit more grain, however, it’s more durable than calfskin because it’s more water resistant. Hope that clarifies it for you- I know in the video it’s hard to really see the leather so I wanted to make sure you knew the actual material!
I know there are not many setup videos for Chanel Planners & Agenda’s on YouTube and I couldn’t find very much information myself on the elusive creatures- but hopefully my video gives you some insight on them. The agenda I purchased is from the Camellia line and dates to 2010, but she is in immaculate condition in my opinion.
This will likely not be the last video I make on the subject of this planner- I’ve already started adding new things to the planner that after I filmed today’s upload so I will share those in future updates. If you have any questions about searching for rare or luxury planners like the Chanel desk agenda’s, let me know and if I get enough Q’s I’ll make a video or blog post to answer your questions.
In the meantime, make sure you are subscribed to my Youtube channel because I’ve got some great new content I’m working on as well as some new freebie downloads to help you boost productivity in your planner!
Let me know what you think about the planner and what content you’d like to see from me in 2020 by leaving me a comment down below!
___
→ MENTIONED IN THIS VIDEO
USE CODE 2020PREP FOR 20% OFF ALL REGULAR PRICED ITEMS IN THE SHOP!
The Charmed Life Master Planner is a 12 month planner designed by Productivity Guru Alexis Giostra to help you Manifest Success with Less Stress! Plan your month, organize your tasks for the week, manage your projects for the year and work out all your brilliant ideas with this unique all-in-one planning solution!
What’s Inside | The 12 Spacious and Intentionally Designed Planning Spreads Backed by Research and Time Management Science to help you Plan, Organize & Execute:
DESIGNED FOR FUNCTIONAL PLANNING: This planner is designed to be a powerful analog tool to help you identify your priorities, manage your time and complete your tasks with three divided sections for your calendar, projects and ideas!
MORE THAN JUST A TO DO LIST: The purpose of planning and productivity is NOT to fill your days with endless tasks and meetings getting done more work in the same amount of time. Instead it’s about breaking down your thoughts and ideas into manageable plans that you can focus on to create the life you want to live. The Charmed Life Master Planner gives you ample space to explore your ideas, create your plan of action and then FOCUS on the tasks that will truly impact your life and bring value to your day.
ONE LIFE. ONE YEAR. ONE MASTER PLAN: Alexis firmly believes that you don’t need multiple planners, schedulers and notebooks to organize your life- just one single book dedicated to creating your master plan for your year! The Charmed Life Master Planner has been designed to be a single book solution for all of your planning needs.
JOIN & LEARN WITH OUR COMMUNITY: Your productivity and planning journey doesn’t need to end with the purchase of The Charmed Life Master Planner. Join Alexis on her blog Strange & Charmed, her YouTube Channel, and on Instagram to learn more about how to use your planner and different productivity philosophies! Alexis has also designed other great productivity and planning resources to educate and enhance your daily experience that you can purchase on TheCharmedShop.com!
Let’s take a look into the planner and all of the Functional Planning Spreads!
The Charmed Life Master Planner begins with a series of 5 Functional Planning worksheets for you to learn the basics of the Functional Planning Philosophy and then the planner moves into a series of 12 unique functional spreads to help you find clarity, organize your ideas and take action on your plans.
Plan out blocks of time for work, vacations, holidays and travel, or track reoccurring events with the yearlyTRACKER.
Create a more in depth planning overview for your year including school, work, or family schedules with the help of the four page yearlyOVERVIEW.
Map out your monthly schedule and 3 priorities for each week on the monthlyPLAN.
List out your master monthlyTASKS and create a personalized tracker perfect for expenses, habits, or additional task tracking with the monthlyTRACKER.
Create your daily plans, block of time and your top 3 tasks in the weeklyPLAN. (A5/Half Letter weeklyPLAN spread shown here, see alternate digital layouts below).
Map out your goals and projects for the year on the Yearly Project Tracker!
Codify your projectPLANs and Project Notes so everything is in one place for you to get organized and take action!
Get your ideas and plans out of your head and on to paper so you can prioritize them with the brainDUMP spread!
Generate your brilliant ideas and the rouge outlines of projects with the brainSTORM spread.
Keep additional information and notes stored in your planner in these lined takeNOTE pages.
Keep track of the contents of your planner thanks to the numbered pages and these Index sheets.
Next, choose the Master Planner format that is right for you!
The Charmed Life Master Planner comes in two formats, book bound and printable PDF.
The Bound Master Planner
If you are looking for a compact all-in-one planner, the bound format of The Charmed Life Master Planner is for you. You can choose between the Matte Black Undated Bound version of the planner, or the 2020 Dated Bound version with a color blocked Matte Marble cover.
Both of these bound versions are half letter dimensions (5.5″ x 8.5”) and only 1” thick making them very compact and lightweight options you can carry with you in most bags. The paper is approximately 26lb or 90gsm in weight and 98 bright white in color, which makes it excellent to use with a variety of pens, inks and highlighters with minimum bleed and ghosting.
This binding and size was specifically chosen for a number of reasons to make The Charmed Life Master Planner as functional and flexible a tool as possible. The soft cover book binding makes the planner a discreet and portable tool that you can confidently carry along with you in even the most professional of settings to keep all your plans and ideas organized together. The planner is sized to fit comfortably into a variety of everyday handbags or briefcases. The universal half letter size also accommodates a variety of notebook or compendium style covers available on the market for added protection and functionality as desired.
ADDITIONAL INFORMATION
The minimalistic matte cover was designed specifically to make this planner timeless and elegant. You will find no external branding of the creator on the cover because this is your planner not a billboard for a personal brand. In order to minimize the look of fingerprints a matte cover was chosen over glossy, however oils from your hands will still accumulate on the cover and to clean these, all you need is a simple wet wipe. Keep in mind, this is a paper planner, so you don’t want to use anything too wet that might damage pages, but the careful and controlled use of a wipe or moist towelette followed by a dry microfiber cloth is sufficient to remove any visible oil spots without damaging the cover.
The Bound Charmed Life Master Planner is proudly printed and shipped from the United States.
Why a book bound format?
When I first began the project of creating this planner I had three non-negotiable values that I committed myself to.
Price, Aesthetic and Accessibility.
I had a specific price point that I wanted to stick to for the retail of this planner. I know there are many planners on the market that retail from as low as $1 to as high as $100+ but I had an idea in my mind for where I wanted my planner to be priced in the mix.
I also had a specific aesthetic I wanted to stick to. I knew I wanted the planner to be as streamlined and universal as possible, something that anyone could carry into any meeting discreetly, could pull out of a bag and take notes in comfortably without feeling out of place or self-conscious and was inconspicuous enough to just sit out on a desk without feeling like it was drawing unnecessary attention.
Finally, I wanted this planner to be as accessible as possible for my community, just as easy to access as my print on demand planners and tools sold within my digital shop. I personally hate to wait for things, I know patience is a virtue but when it comes to planners, I don’t want to wait for a pre-order of a product, and then wait for that period to be over and then wait some more for my product to be manufactured before it even ships out to me. Let’s not even get into how annoying it can be to want to order something and this it’s out of stock! I have been down that road before with products I wanted and it is not an experience I want to give my community. I want people to be able to see my planner, be able to order it as soon as they decide they want it, and then receive it within a reasonable period of time.
So, as I was evaluating options for binding and design for this planner with those three key values in my head, it became clear to me that the best way to achieve what I set out to do was with a book bound planner. But this wasn’t a situation where I was settling on the binding either, I am very thrilled that my planner is a bound book. I know in recent years you have seen me with ring or discbound planners, but before I formally joined the planner community, I used a softcover moleskine as my planner and I loved it. There is a part of my sentimental heart that romanticizes books on a level like none other and so for me personally, I am in love with the concept of a soft cover book bound planner. It comes with so many positives to me that it outweighs those few negatives that I know you all want me to address, so let’s talk about it!
Let’s start with the few negatives of a book binding as I see it!
1st NO SPIRAL. Yep, this is the one major negative of a book, it doesn’t spiral BUT let me remind you that a soft cover book CAN flip pages over on themselves and with no coil, spiral or rings or discs to content with, it’s actually a very comfortable experience writing in this planner whether you are left or right handed on either side of the spread!
2nd This actually leads in perfectly to the next drawback of a book bound planner, which is that it doesn’t lay flat on your desk. That’s true, this isn’t like a binder or spiral style planner that lays flat, however, again, you can keep a book bound planner open by flipping pages back and as any avid reader knows, you CAN train a book to lay open by breaking in the spine which is doable with this planner. Another easy solution for this would be to use a paper weight to keep your planner open OR to put it in a book stand. So there are some easy solutions to this problem as well!
3rd and final obstacle of a book bound planner is no reordering or personalization of pages. This is an issue any bound planner would face of course but we have found hacks around that in spiral bound planners haven’t we? Well, we don’t have many clever hacks for book bound planners yet but, remember, you can always add to a book bound planner with sticky notes, paper clips and loose sheets of paper, but there is one thing you still can’t do with a book bound planner: reorganize pages!! This is why The Charmed Life Master Planner comes with an index in the back and numbered pages. For those who are familiar with the bullet journal method you will be familiar with the concept of using an index to help you organize your book and quickly find and reference information.
So those are the three obstacles I see with a book binding, but we all know its not just book bound planners that have obstacles, no planner binding is a perfect solution, it’s just about finding the planner and binding that has the issues you are willing to deal with and the benefits you are looking for!
So, let’s talk about some of the benefits of a book bound planner and why I am so thrilled about The Charmed Life Master Planner.
1st It’s securely bound with your entire year and all your plans, projects and ideas in one place! Yes, I LOVE planners that you can customize and add and remove pages, but that’s only because in most customizable systems you need to constantly adjust and allocate space because they can’t hold everything you need. Well, The Charmed Life Master Planner is everything I will need in a year for managing my time, planning my projects and coming up with ideas! So there is nothing I need to add to this because, I have everything in one place!
2nd NO bulky cover or binding! So this is something you are going to have to see to really understand how excited I am about this binding. When I compare The Charmed Life Master Planner with the discbound planning system I was using before, it’s clear which option I would prefer to tote around. The discbound system is much bulkier! I cannot fit my discbound planner in my everyday handbag, BUT I can fit The Charmed Life Master Planner comfortably! Now, it’s important to note that the pages within each planner are the exact same, half letter sized 26lb paper, and yet I can only fit half a year of inserts, and a smaller project planning and notes section in my discbound. Again, The Charmed Life Master Planner is the full year and enough project plans, brainstorm and notes sheets for a year of ideas. Even if I were to switch this leather cover with a thin plastic option, the discbound is still bulkier and contains only half a year of inserts at one time.
3rd It’s sophisticated yet discreet! Can you think of anything more discreet and unassuming than a book? You can literally take a book with you anywhere you go and it draws almost no attention to itself. It’s not a cell phone or tablet that might need to be turned off or handed over in delicate situations. It’s not a leather planner that might be mistaken for a wallet and stolen. It fits seamlessly into nearly any work situation or life scenario without screaming “look at me- there is private information in here!” I love that this planner is so versatile, portable, gender neutral and yet elegant and sophisticated all at the same time.
The Printable PDF Master Planner
The Charmed Life Master Planner is also available in a Printable PDF option as well, for those who prefer the flexibility and personalization of printing and organizing their own customized system.
The printable PDF option comes bundled with 3 sizes of the Master Planner optimized for the various sizes of popular planner binders on the market and includes a full year of dated inserts.
Those sizes are Personal, A5/Half Letter and A4/Letter.
Other than their size, each PDF version of the Master Planner is nearly identical, except that they each have a unique weeklyPLAN spread design in order to optimize daily and weekly planning across the various sizes.
Above is the weeklyPLAN spread found in the A5/Half Letter Size.
Above is the weeklyPLAN found in the Personal size.
And, finally, above is the weeklyPLAN found in the A4/Letter size.
So, those are all of the current options for The Charmed Life Master Planner! I think you can tell for yourself that this isn’t your run of the mill paper calendar, but truly a complete functional planning system with the dedicated space and spreads to ensure you are making, organizing and executing on plans productively!
While other planners might be known for their variety of cover designs or the use of specialty materials that can leave the end user paying premium prices for ink and paper, The Charmed Life Master Planner has been intentionally designed through years of research to reflect the latest understanding of productivity science. Your planner should be more than a pretty accessory! It’s a tool that when designed properly and used regularly has the power to help you reach your goals and manifest your dream life into reality.
Want to see the planner in action? Check out this video for a quick review on the planner spreads and how to use each as part of my Functional Planning System!
What people are saying about The Charmed Life Master Planner!
“I use the Master Planner every day, it seriously has been an essential tool to help me go from feeling completely overwhelmed to feeling in control of my life. The plan and prep section in particular, I am shocked to find, I love the most.
Initially when I got the planner, I had no idea what I would do with that section. About a week or so ago, I was feeling overwhelmed and decided I needed to dissect the various components of my life that was making me feel this way. I made each box a component (e.g. work, wellness, personal goals etc.). I was shocked to find that I had three boxes dedicated to my work, and my personal goals that I needed to achieve (e.g. getting into grad school) was far too low on my priority list, based on how I was living my day to day life. That exercise alone really helped me to see how I needed to change the way I organized my life on a daily basis.
I am happy to say only one box stands for work now, and I have a lot more boxes dedicated to my long-term goals. I now try to make sure my work stays within work hours and not weekends. I’m a recovering workaholic, is what I’m trying to say! I also have an hour carved out every day to work on things like grad school applications. And in this short time, I have completely re-vamped my CV, gathered all of the pieces I need for the application. The last step is to write the cover letter, and I’m done! All within about a 10 day span. Plus I had a glorious weekend where all I did was relax.” – Sam R
How would YOU like to transform from overwhelmed to in-control? Sounds amazing! Let’s hear from another Master Planner user…
“Good morning, Alexis—
I simply want to take a moment to thank you. I have noticed a significant change in my mental health and overall attitude towards productivity since following you and your advice the past few years. Since April, my CLMP has served me well– even through the birth of my first child! Undoubtedly, my time for prioritization has arrived. Accepting the fact that I can NOT get 100+ or even 6 things done in a day has brought me a certain peace. (Top 3: tasks, not projects!)
My “projects” range from apartment upgrades, to maintenance for the commercial building that I help manage, to hosting large familial celebrations… I could not have remained SO organized without your thoughtful outlines! While I often resort to post-its and random lists for my brain dumps, the CLMP has become a safe nest for all of my plans. I will soon apply for graduation (A.A.S.) and begin work for my Master’s. Required courses, advising appointments, assignments, even thank-you notes for my professors!.. ALL managed with my planner. ♡ Not to mention my newborn’s doctor visits, my work schedule, etc.
I almost can’t wait to repurchase the planner… but I still have pages to fill! 🙂 Please know that you are greatly appreciated, Miss Trenchcoat. So many of us find inspiration and empowerment with your tools and shared wisdom!” – Jenalysa from TX
So, what are you waiting for? I would LOVE for you to purchase one of my Charmed Life Master Planners because it truly is a unique planner system that is designed for functional planning and productivity.
I hope you had a wonderful May and I wish you the best for a productive June ahead!
xoxo,
P.S. In case you didn’t hear, I took a little impromptu blogging break for a few weeks, but don’t worry, I’ll be back soon with some new content on a more regular basis! Thanks for sticking with me!
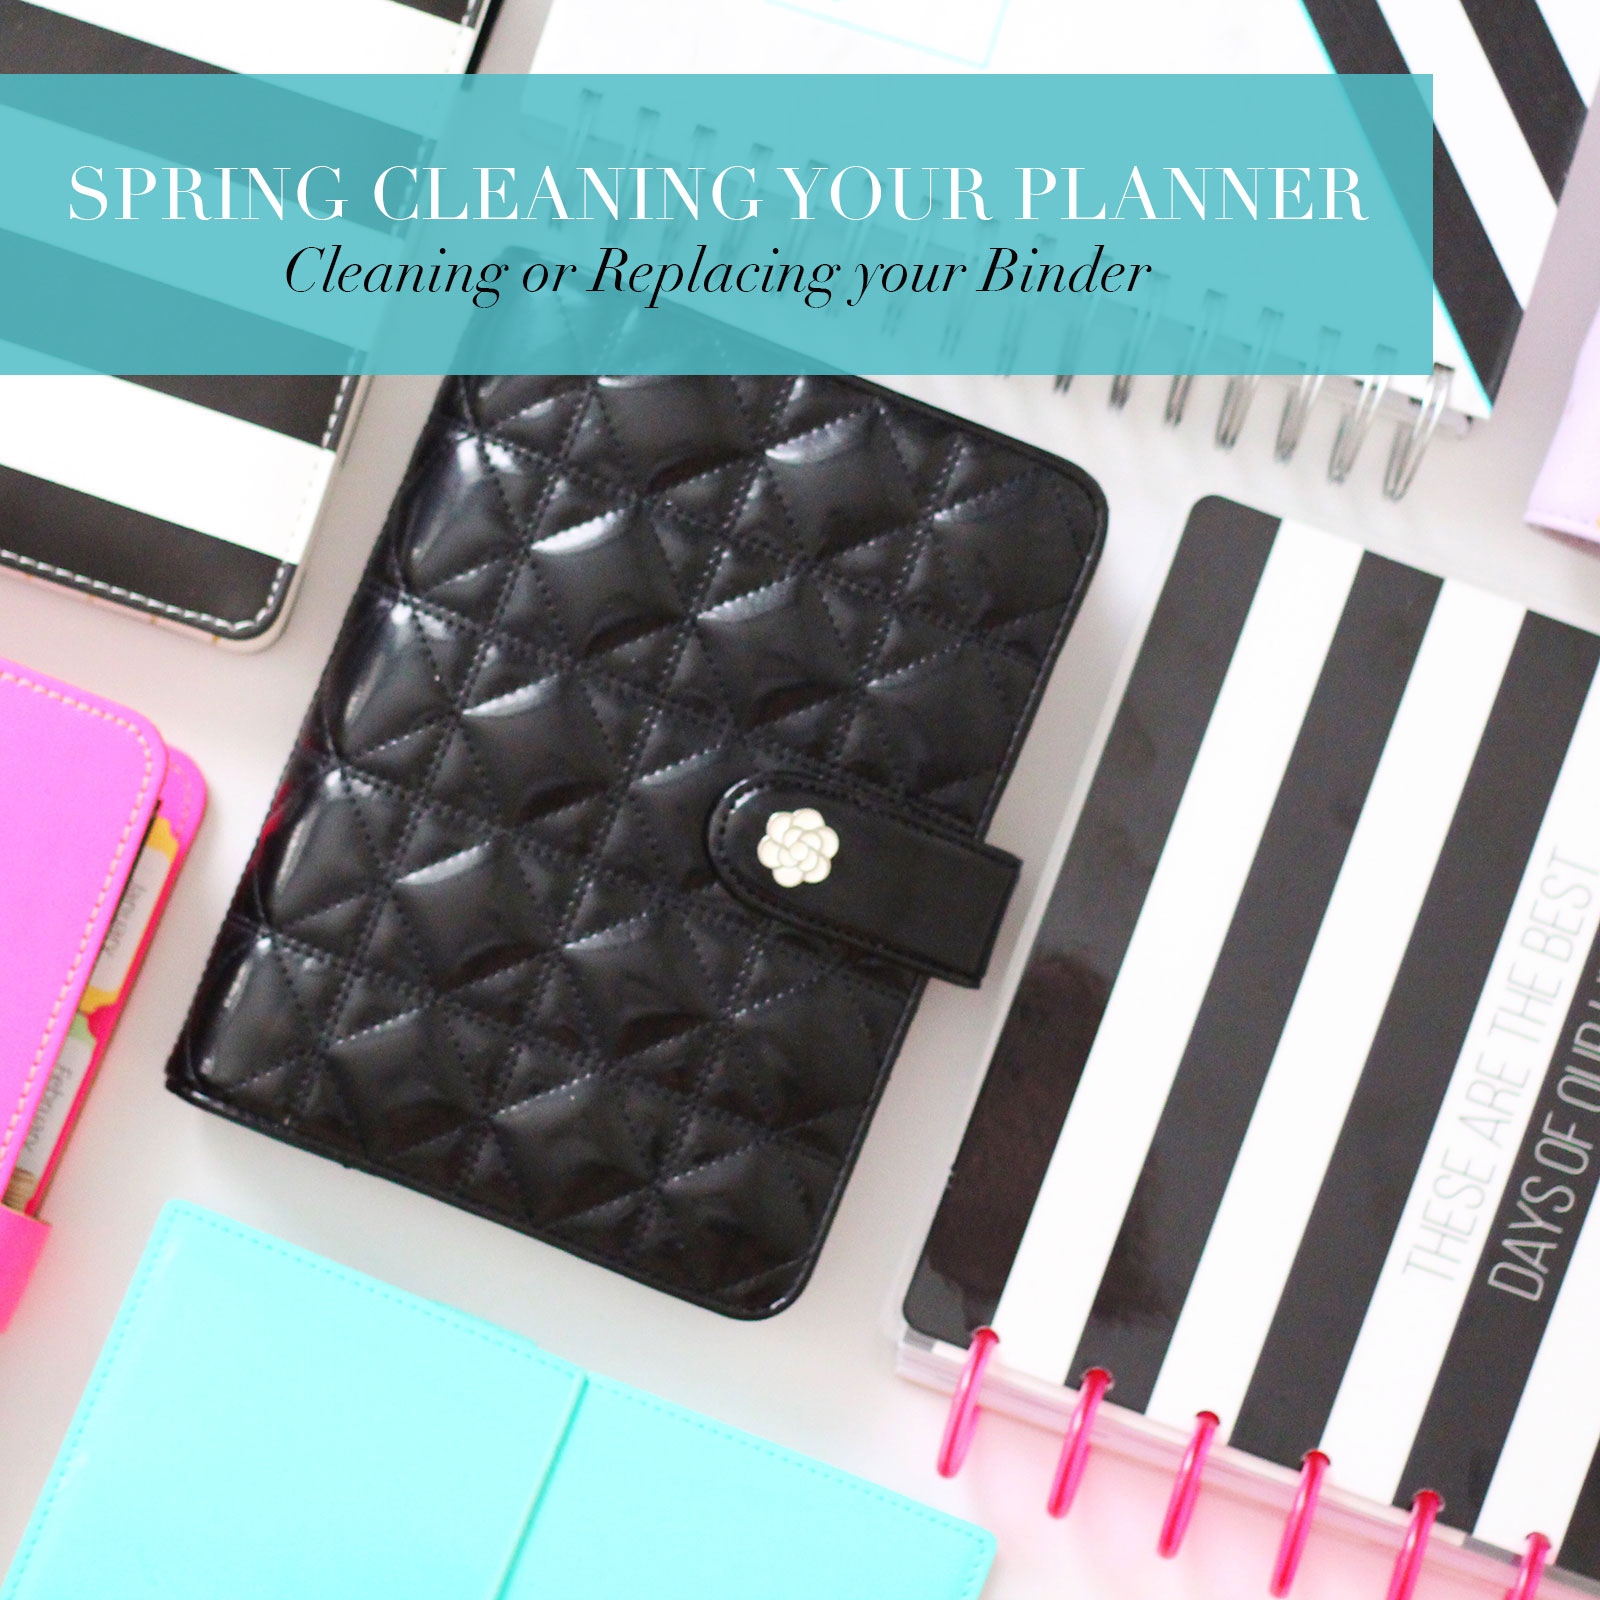
Happy April Planner Friends! Well- I am officially back from my Entrepreneurial Spring Break and now that it’s over all I want to do is fill my planner with new ideas and inspiration to carry me through the summer. While I was on spring break, I did some decluttering around my home, sent a bunch of clothes to goodwill, and gave away some of my unused accessories to family members. I really wanted to do what I could to make room and pass on what I could from my life, primarily to show gratitude for many wonderful blessings that have come into my life recently, but also to keep myself in balance. Balance for me is one part streamlining of what I already have, and another part planning for what’s to come. So, in that spirit, the time has come to Spring Clean my planner as well! While I am going through this process, I thought that I would share some ideas to help you spring clean your planner as well! So, this topic is going to be a 10-part series during the month of April, BUT you can come back to this series or use these ideas year round to help you reset your planner when you need it. I hope you enjoy the series and that you will come back to my site often this month to see it unfold! Feel free to share and posts you particularly enjoy as well- that would be lovely!
Part 1: Clean or Replace Your Binder
Depending on the age and wear of your planner, one of the quickest ways to spring clean it is to literally give it a good scrub or replace it altogether. Many of us in the planner community see our planners as an accessory, not just a productivity tool, so keeping our binders in good condition or swapping them out for the season is reasonable. Here are some helpful tips to get you started.
How to Safely Clean Your Planner
Correctly identify the fabric of your planner: Depending on the type of fabric or material used for the interior and exterior of your planner, you will use different cleaning products. Make sure to identify each material by checking and labels or paperwork that came with your planner, or by contacting the retailer directly. If you aren’t 100% sure of the material, I wouldn’t risk damaging it by using a product made for a specific material, however, a mixture of warm water and mild soap are a safe bet if you just can’t find the information. For any product you use, make sure to spot check the formula in a small, hidden area of your binder to ensure it does not do any damage or cause the color to run or fade.
I also make sure to have a stock of Q-Tips and Lint Free Clothes handy when cleaning my binders!
Find the trouble spots: Before you begin cleaning your binder, I recommend assessing the damage and determining if there are any trouble spots. Cleaning up your binder is one thing, but dealing with specific stains is another. Don’t proceed with cleaning your binder until you have given it a once over and checked or any trouble spots like pen marks, stains or areas of rust/oxidation on any metal pieces. You will want to address these issues first with spot treatments specifically tailored to your binder material and the trouble spot. There are many different stain specific products available to help you spot treat your binder, like these.
Empty your planner: This may seem obvious to some, but remember to empty out your planner before you begin cleaning it. Check through and pockets and zippered areas and ensure everything is removed so you can get down to work!
Use a light touch: Whenever I’m cleaning any of my accessories, even my planners, I like to use a light touch so I don’t damage the item. You can always go back over areas with heavy build up if you are too gentle on a first pass, but if you are too rough you can do irreversible damage. Just be smart, work gently in small sections and don’t rush!
Let it dry: Once you’re done cleaning your binder, make sure to give it time to dry. Leather and faux leather binders tend to dry in a few hours, but if you have a cloth planner that required more product to clean, let it dry overnight before returning paper to it just in case! We wouldn’t want to ruin our inserts now would we?
If you’d like to watch my cleaning process, check out my 2017 Planner Setup Video where I give my leather binder a thorough clean at the start!
Replacing Your Binder
Of course, if you don’t simply want to clean your planner and want to replace it altogether- that’s a legitimate option. If you’re looking for something new, think about whether you want to swap your style or your entire system! It’s easy enough to swap one 6 ring planner for another in a coordinating size, but its a little more involved if you want to change from a ring bound to a travelers notebook style, for example. To get some great inspiration for your next planner purchase, check out my Planner Resource Guide Post on Picking a Planner! It covers some great basics for what’s available planner-wise to get you thinking about your needs.
I’d love to hear about your experience with cleaning your planner or picking out a new one for the season! Feel free to share your favorite products or planners down in the comments and be sure to share this post if you found it helpful!
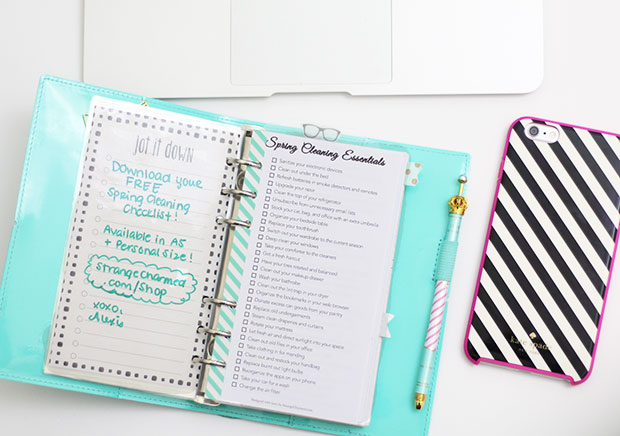
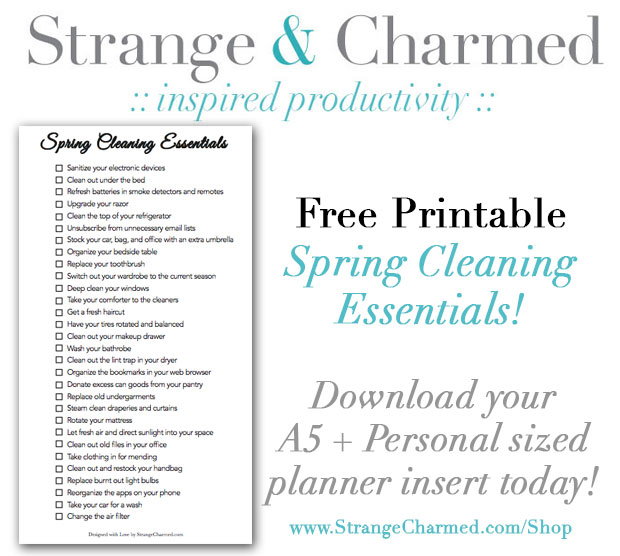
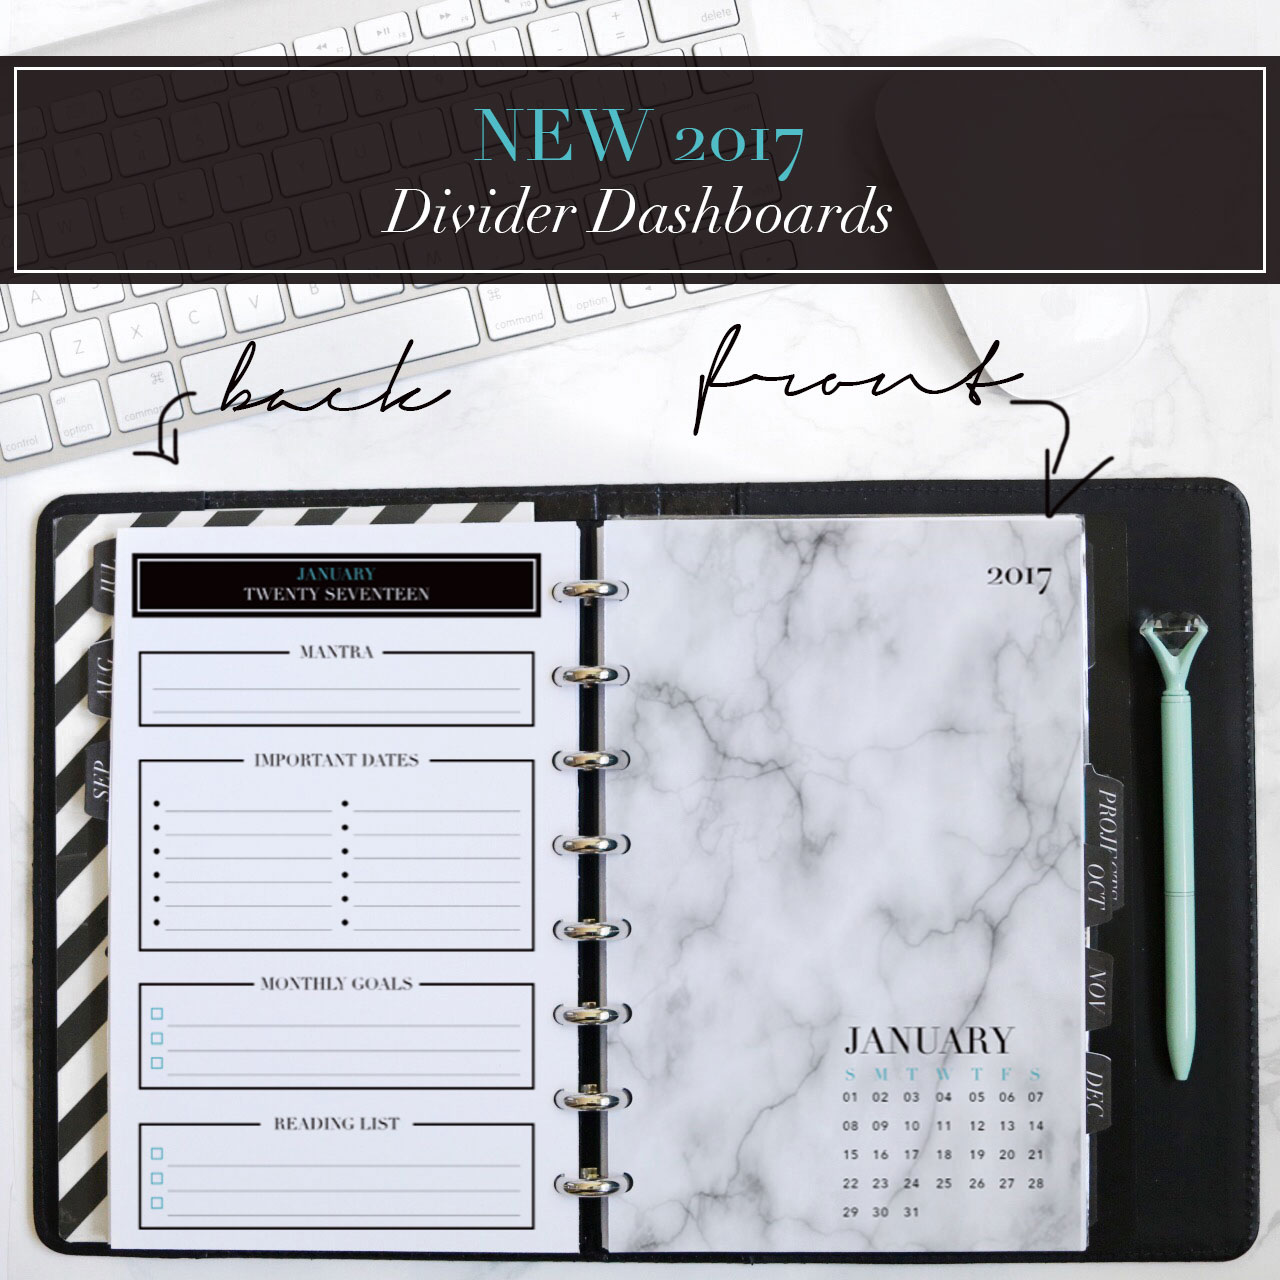
April is right around the corner and so it’s time for another Free Filofax Printable Insert! Since Spring is about to be sprung, this is a great time to focus on a little spring cleaning! This month’s printable is a checklist of all the essential spring cleaning items that are usually forgotten, so challenge yourself to complete one task a day in the month of April and once you are done, you should have a completed refreshed view of your life! Of course, as I did last month, this printable will be available in both A5 + personal size Filofax equivalents! Of course, I also have your April 2017 Dashboard ready to go as well and when you download the Spring Cleaning Checklist, the Dashboard comes with it!
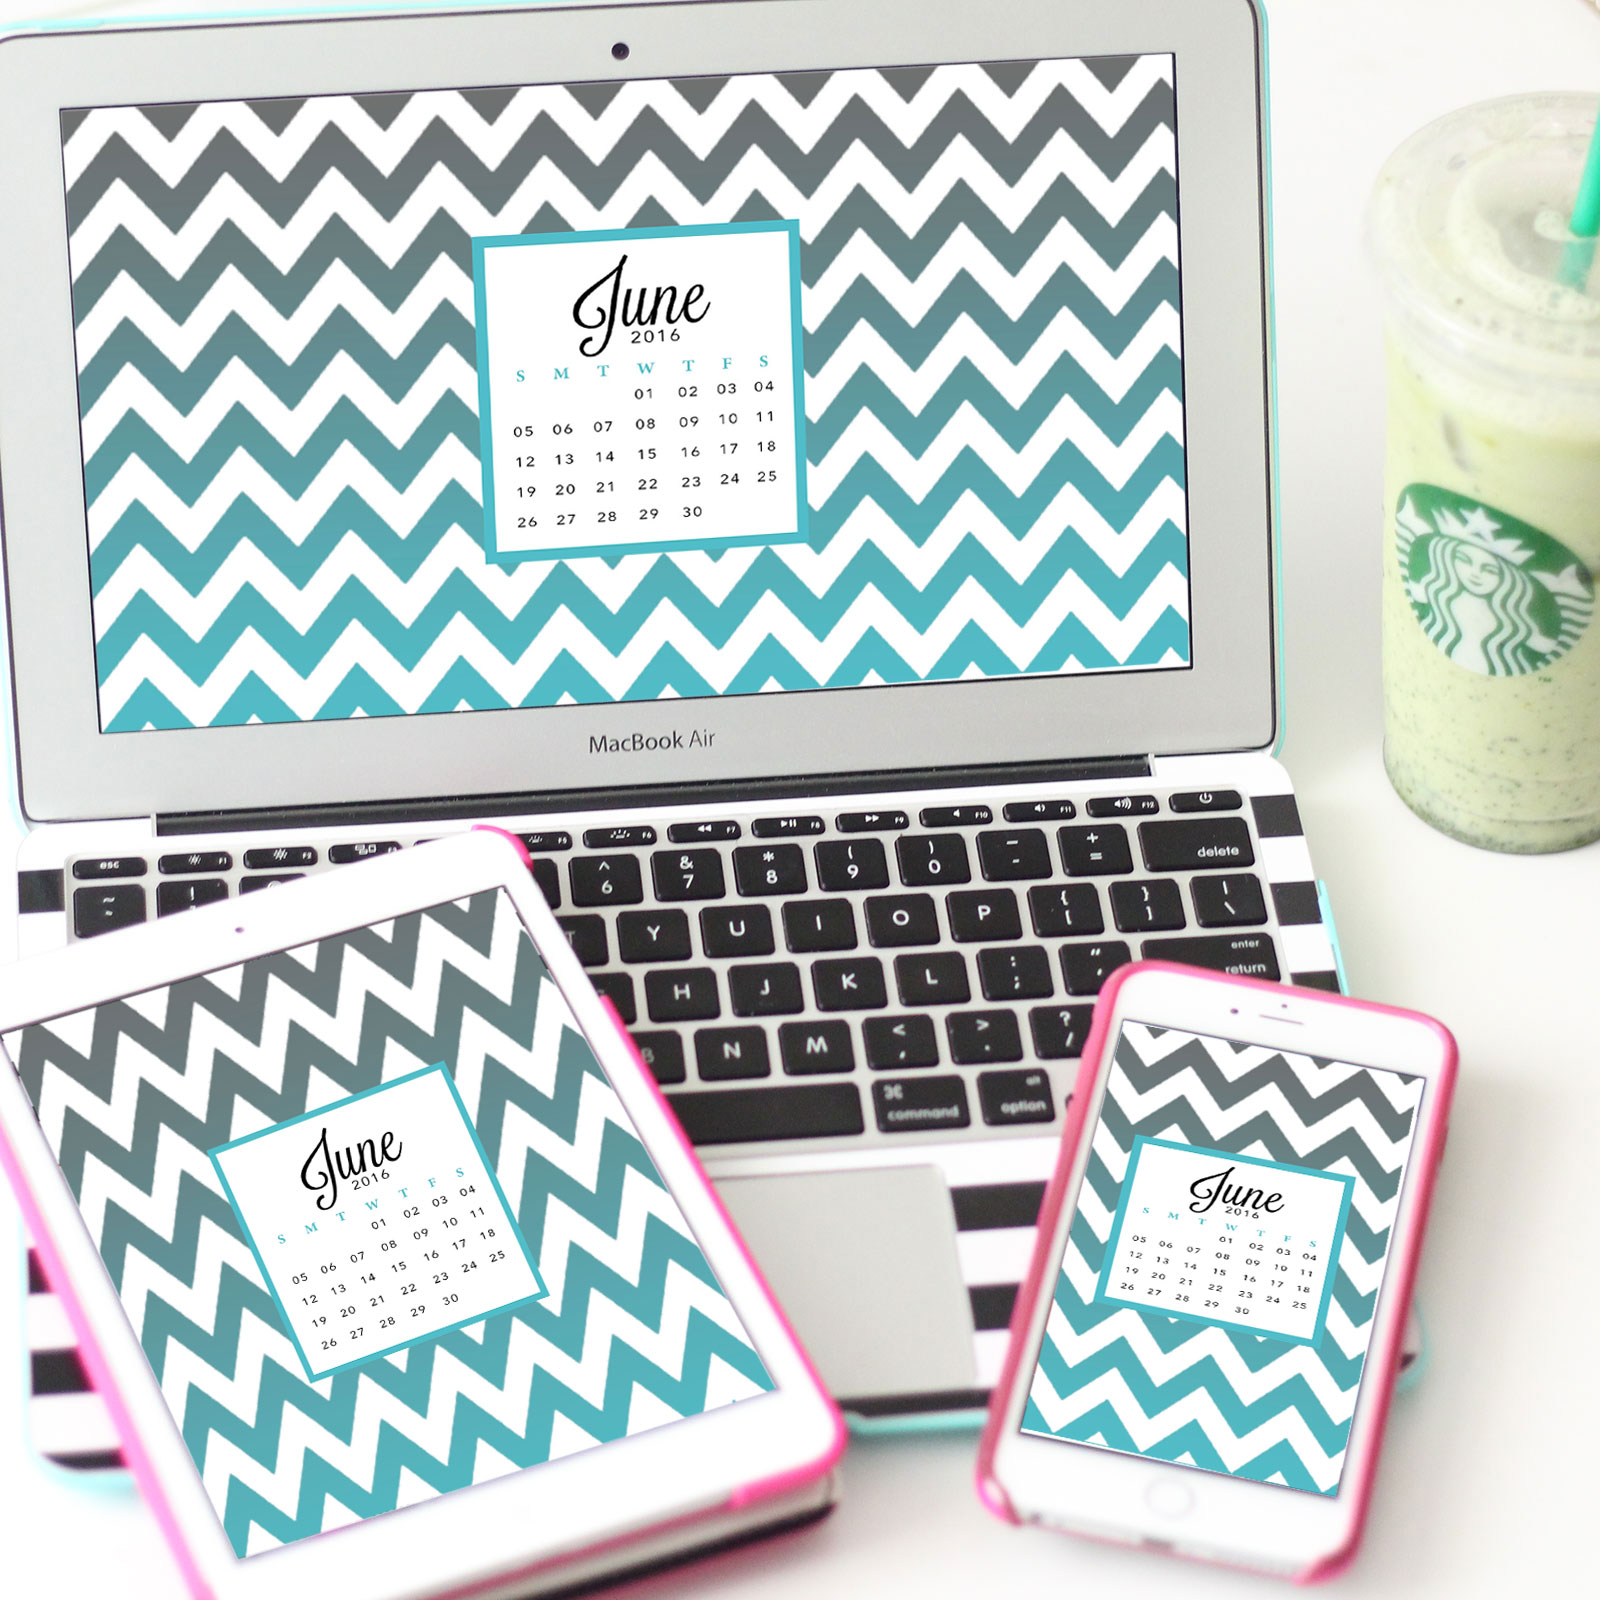
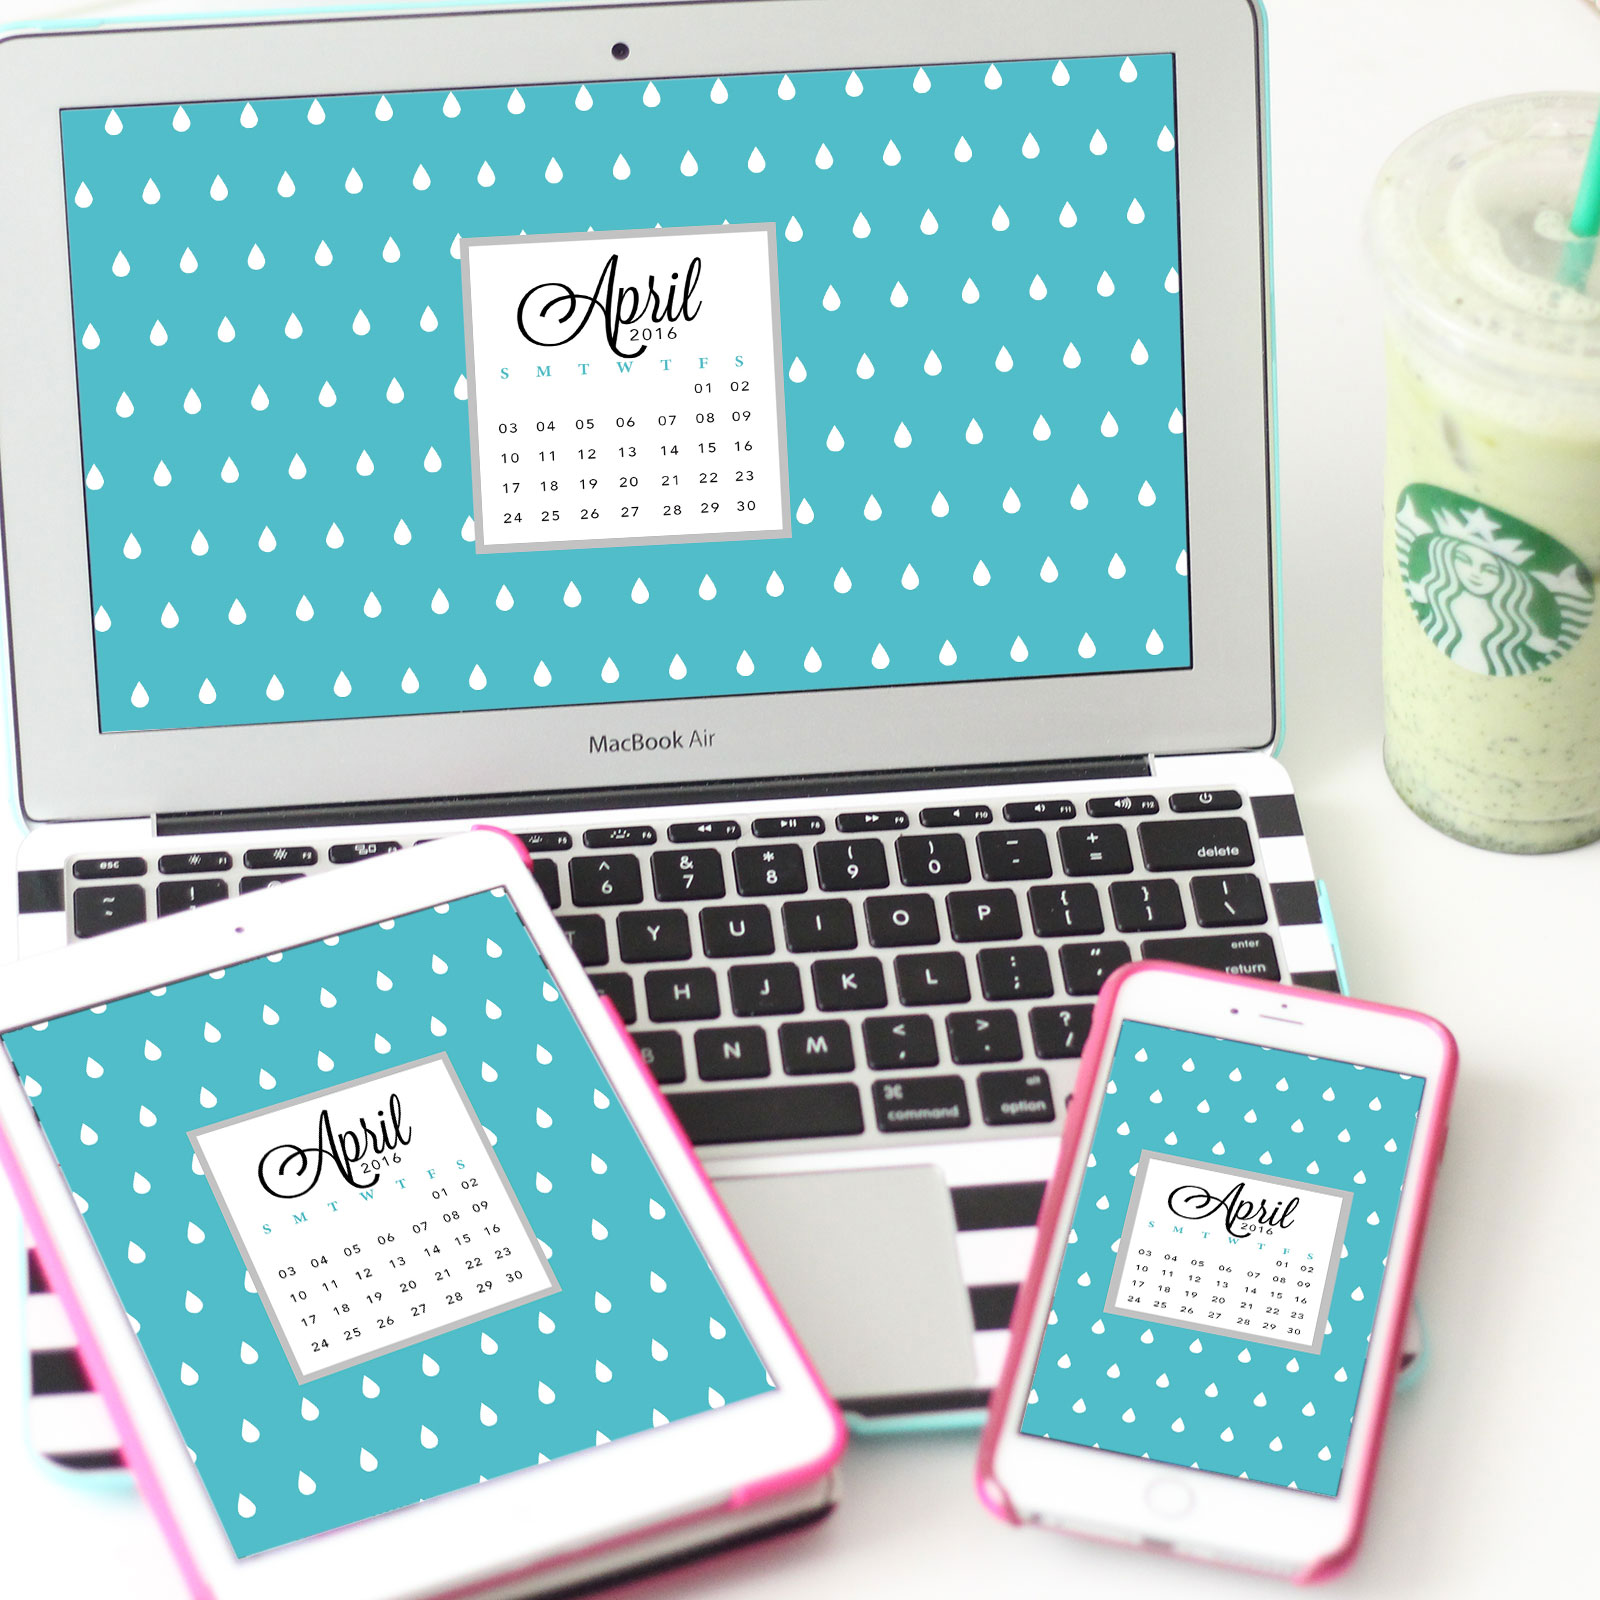
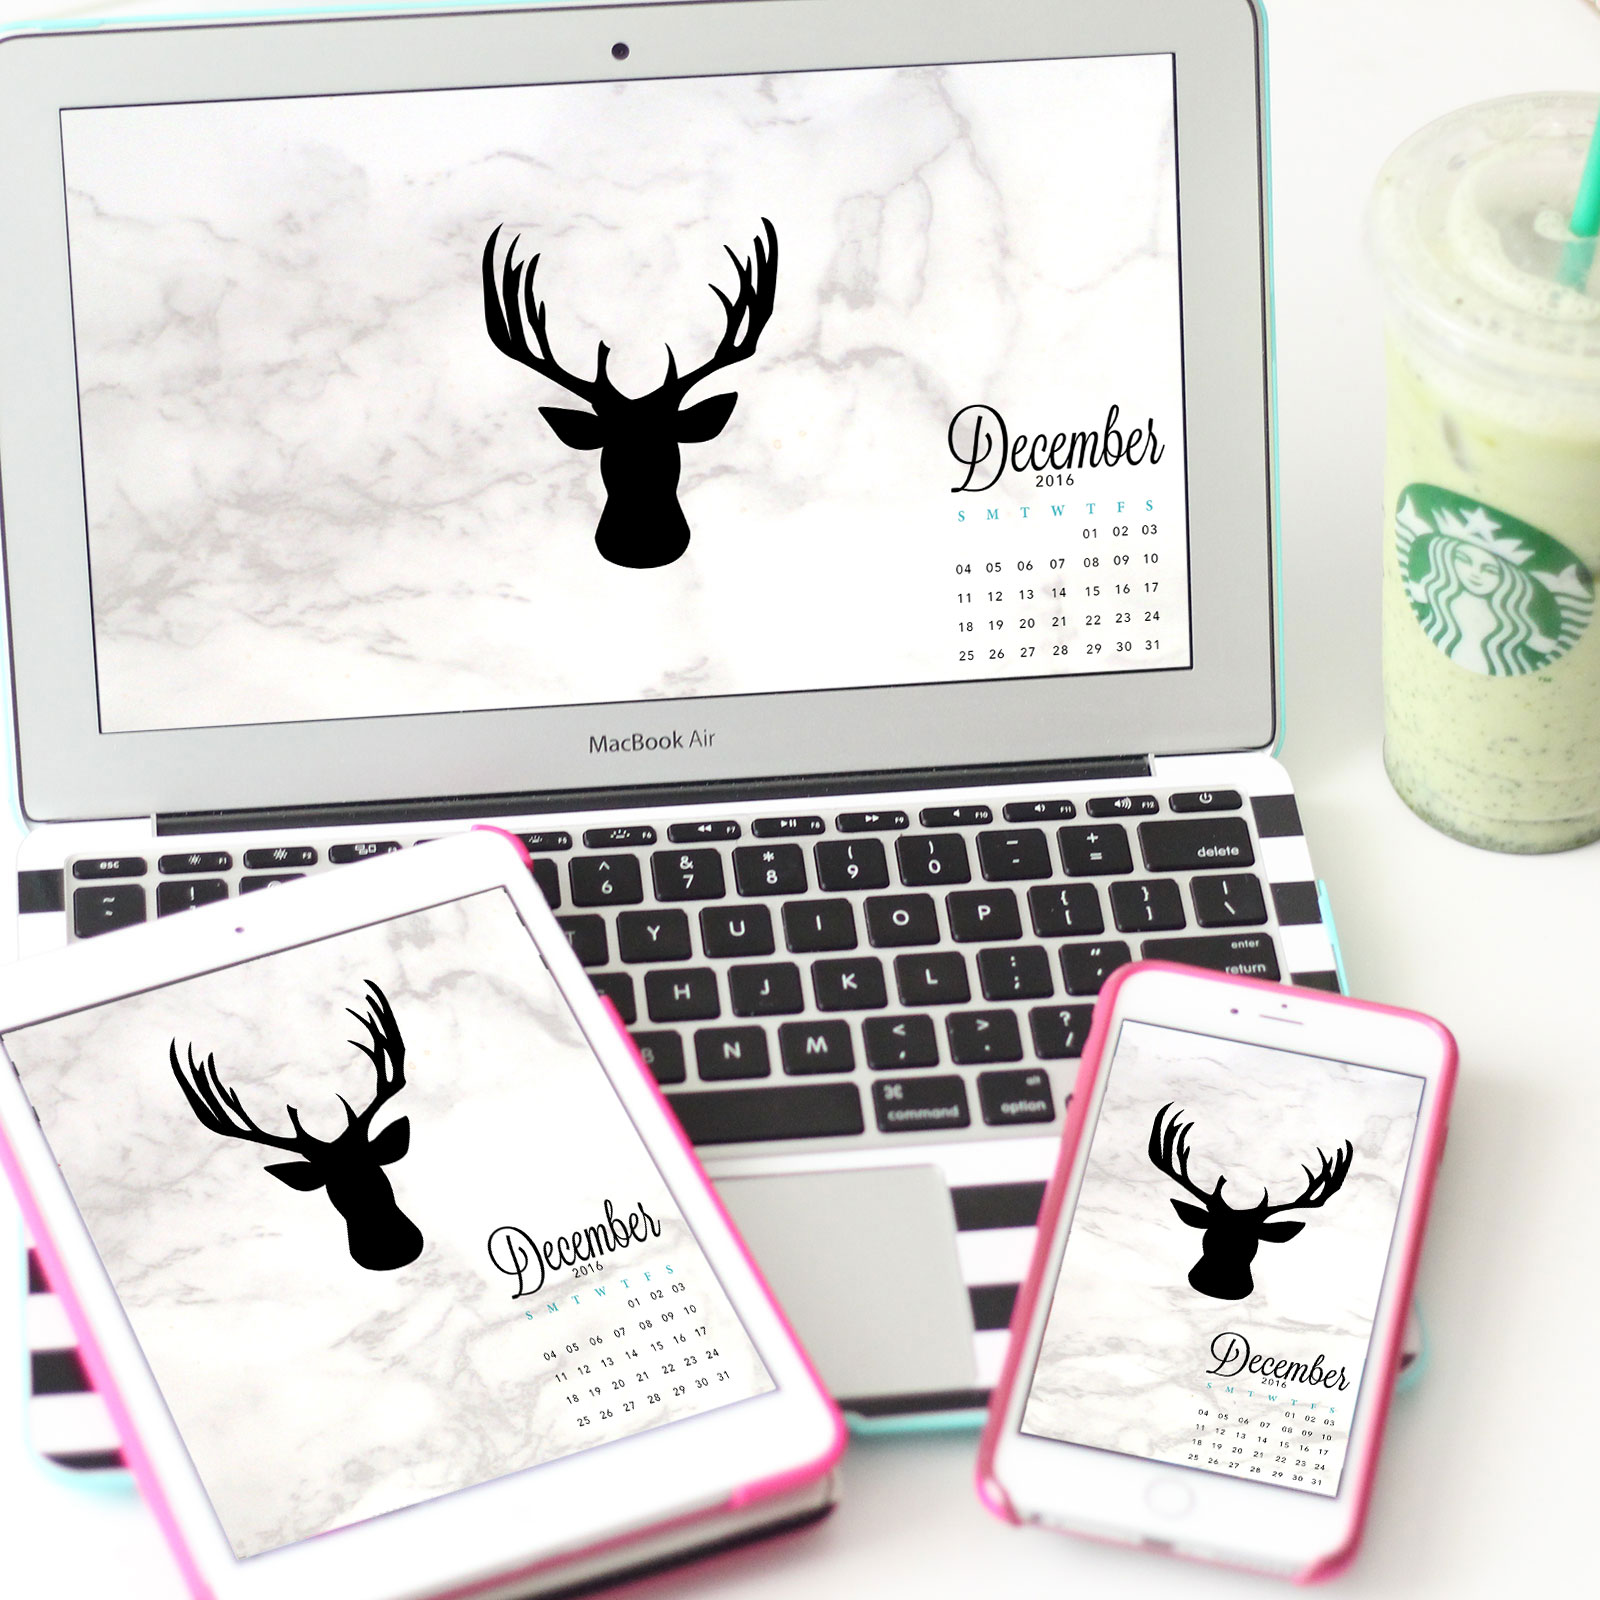
AND- Don’t forget your FREE Tech Wallpapers for your computer, tablet and smartphone! This month’s design is all about April showers with a mod raindrop design in my signature turquoise! Click here to enjoy the digital wallpaper designs!
If you do download these free inserts or tech wallpapers, please let me know about it by taking a picture and tagging me on Instagram with the hashtag #StrangeandCharmed so I can see how you are making use of these goodies. I love seeing your pictures, and I can’t wait to like them and interact with you on IG! Make sure you’re following me @MissTrenchcoat!!
Of course, I love to see pictures of your planner inserts and wallpapers at home on your planners and tech gadgets! If you share a picture, please use #CharmedGTD so the whole community can see your setups and of course tag me @MissTrenchcoat as well in your pictures on Twitter & Instagram!
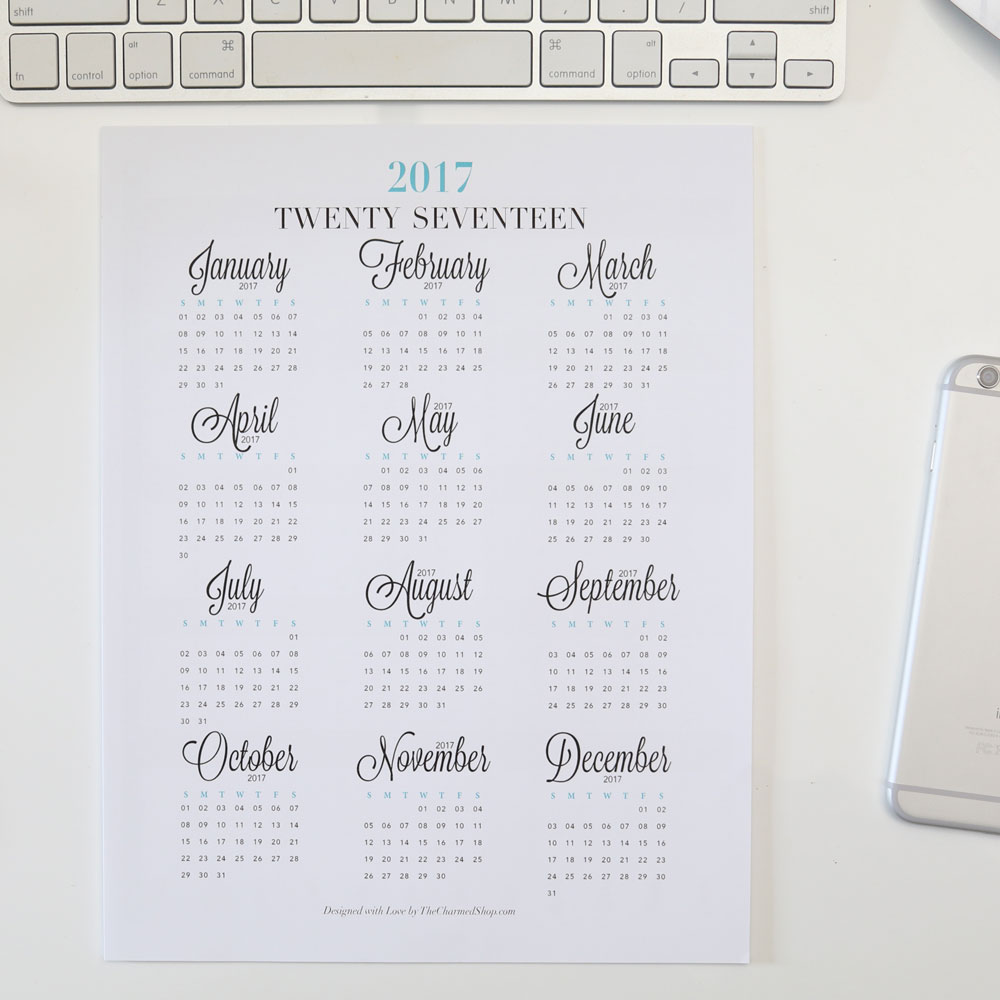
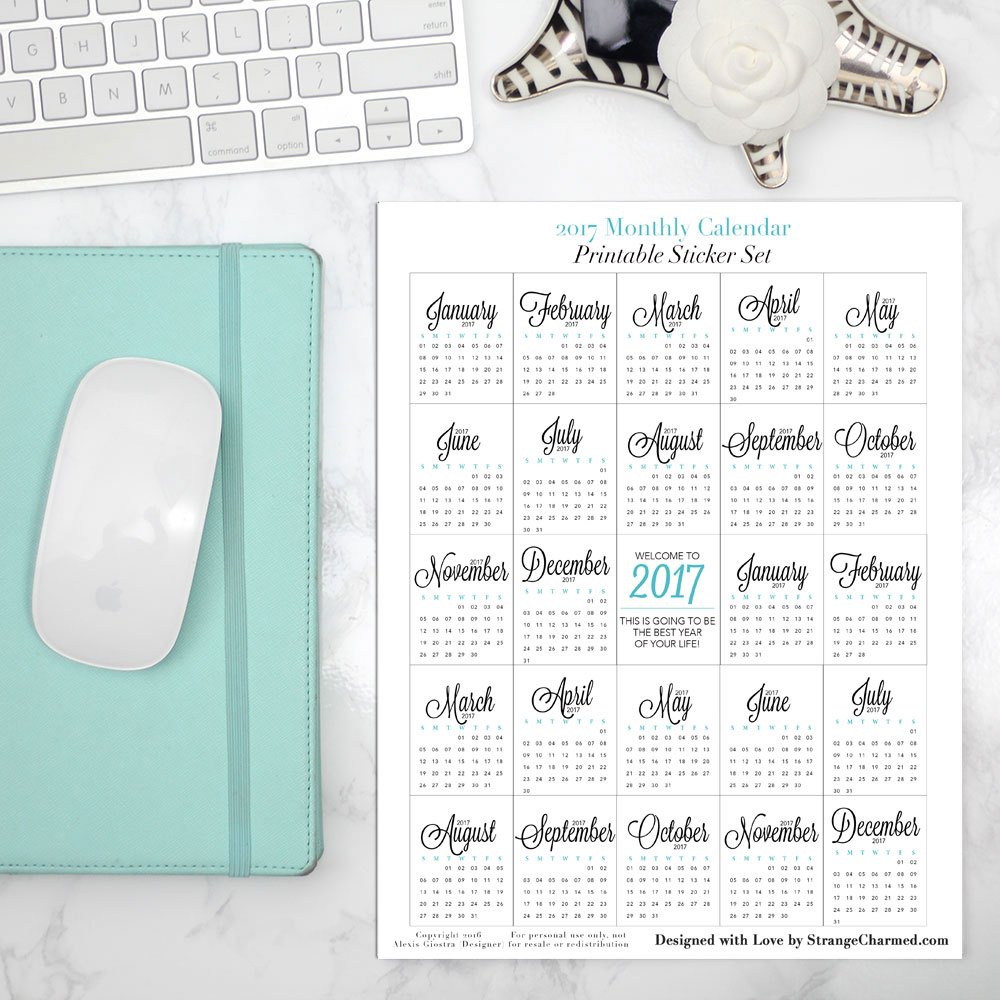
With 2017 around the corner, I thought this would be a perfect time to introduce you to some wonderful 2017 Printable Calendars if you are still looking for ways to organize your year!
2017 Printable Calendars for Your Planner, Desk or Wall
How to Turn a Filofax Binder into a Desktop Filing System
Let’s be honest, how many of us have an extra Filofax planner sitting around that we’d love to put to productive use? I know I do, and that’s why I am always thinking of new ways to use them. The great thing about Filofax planners is that they are more than just planners. They are high quality ring binders that can be used to store anything from your calendar and to do list, to your paperwork and mail. One of my favorite ways to use a spare binder, specifically a spare A5 (although you can also manage this with a personal size) is to create a desktop filing system. That’s right, a simple, easy to use file system that sits on your desk and is portable enough to keep your essential documents and reference information safe while on the go. Since I am a productivity junkie, I like to use the 43 Folders System to file papers, mail and information I know I need for later, but don’t want to go through the hassle of filing away in “deep storage”. We all have documents that relate to in-process projects, or emails we have printed out and stuffed into our calendars to keep for a project or event months down the road, and the rotating ticker file or 43 Folders System is a great way to manage those types of physical documents. So, let me walk you through what you will need to undertake this project and give you some simple steps to building your own 43 Folders Tickler File in a spare Filofax A5 Binder.
Step 1: Remove any old inserts or papers from your Filofax.
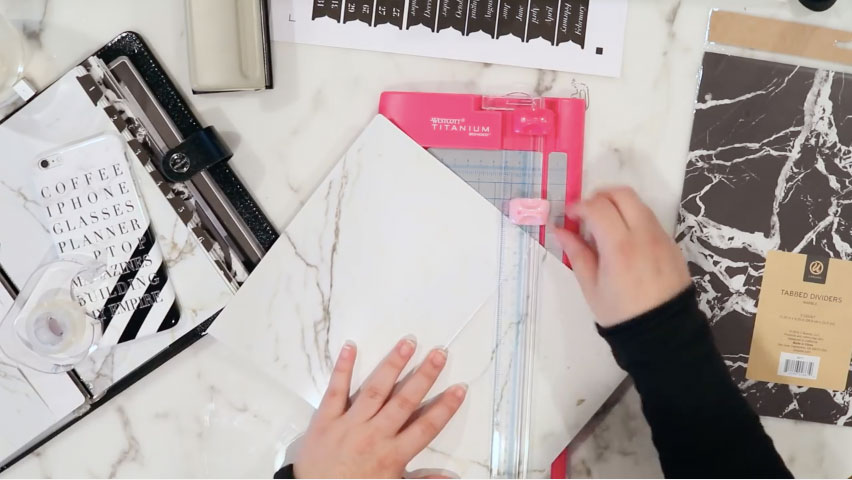
Step 2: Using a piece of 5 paper as a guide, take a file folder and using a piece of A5 paper as a guide, line up your paper with the top corner of your file folder where the edge and the fold meet and mark the dimensions of the paper onto the folder. Repeat this for all file folders.
Step 3: Using a paper trimmer or scissors, cut the excess file folder where you have marked the A5 dimensions so that you have an A5 sized folder. Repeat this for all file folders.
Step 4: On the front side of the file folder, make a diagonal cut from the top corner of the folder (where the edge and fold meet) down to about 2/3rd of the page. Also, remove any tab on the folder if applicable. Make sure to only cut through one side of the folder and leave the other side intact. Repeat this for all file folders.
Step 5: Using clear tape, tape the bottom opening and 1/3rd side opening of the folder shut, making a pocket that can hold papers. Repeat this for all file folders.
Step 6: Punch holes down the long edge of the file folder on the side of the original fold with the A5 punch. Repeat this for all file folders.
Step 7: Name 12 of your file tabs January-December, creating one tab for each month of the year.
Step 8: Add one monthly tab to each of the 12 folders. Distribute tabs as evenly as you can.
Step 9: Using your A5 paper guide, mark the dimensions onto your paper or card stock. Repeat this for all 31 pieces of paper or card stock.
Step 10: Using a paper trimmer or scissors, cut the paper or card stock along the A5 guide. Repeat this for all 31 pieces of paper or card stock.
Step 11: Punch each A5 piece of paper or card stock with your A5 punch.
Step 12: Number the remaining 31 file tabs 1-31 and apply one to each of the 31 pieces of paper or card stock cut into A5 dimensions. Distribute tabs as evenly as you can.
Step 13: Open the rings of your Filofax binder and put in the folder labeled with your current month.
Step 14: Behind your current month folder, put in the paper or card stock numbered 1-31 in numerical order.
Step 15: Behind the 31st page, put the remainder of the monthly folders, in calendar order.
How to Use Your Filofax 43 Folder Binder
Your Filofax tickler file has 12 folders, one for each month of the year and 31 individual pages, 1 for each of the maximum 31 days in a month. To use your binder, place notes, to do’s, documents or papers (fold A4 or US letter pages in half first) into the folder for the month they belong to. For your current month, place papers in front of the numbered of the specific day of the month you want to be reminded or will need a specific document. I like to use sticky notes with reminders on them as a placeholder for any large multipage documents that don’t fit comfortably inside the system, and I leave documents/lists in the current monthly file if they don’t pertain to a specific day but I want to work on them that month. This file is great for storing all those straggling papers sitting in piles on your desk and perfect for forward planning, even if you don’t have any documents related to a specific idea or event. Using list pads or sticky notes with a concept or idea and sticking it to a specific daily page or inside a specific month’s folder is a great way to job your memory for a project or idea you have now that you don’t want to act on until later. As the months progress, make sure that the current monthly folder is on top, followed by the 31 daily pages and then the rest of the monthly folders in order behind those. This keeps the folder up to date and because nothing is specifically dated you can use the system over a span a years without needing to change a thing!
If you would like to replicate this DIY for yourself, here is a video I made outlining the process and providing additional details that may interest you. If you do use this method, I would love to see it, so please make sure to take a picture, share it on Twitter or Instagram and tag me @MissTrenchcoat. Don’t forget to pick up my latest free planner printables over at http://www.TheCharmedShop.com!
Hello My Charmed Ones! Welcome to The Strange & Charmed 2016 Holiday Gift Guide!
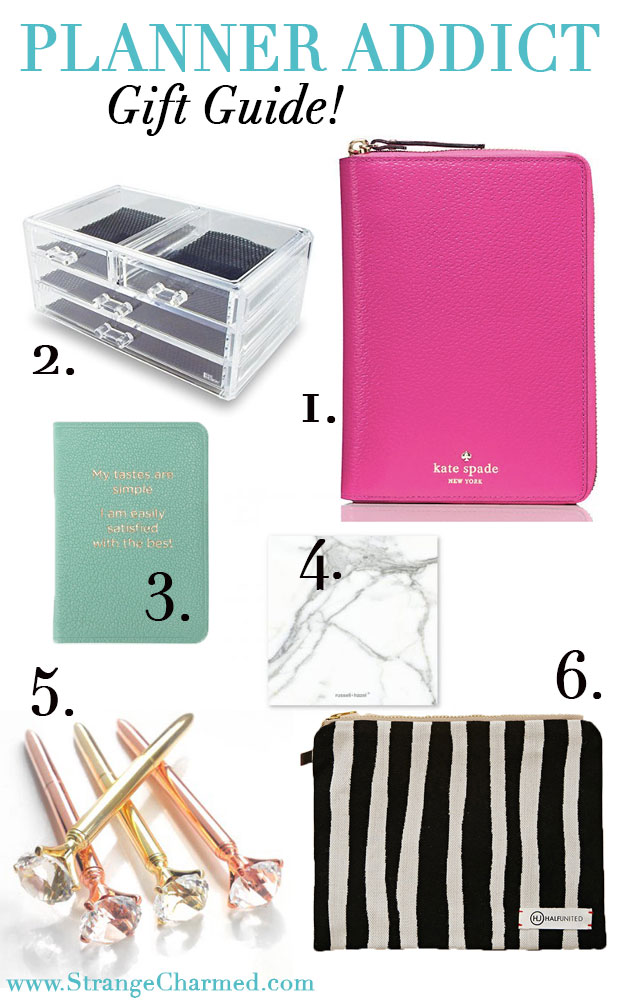
The Most Wonderful Time of Year is Almost Upon Us! So, I thought this would be the perfect time to do a short series of gift guides before Black Friday and the holiday rush begins. Of course, since this is a Strange & Charmed Gift Guide, my choices for 2016 will be themed into categories that pertain to my readers. The first Gift Guide is themed for the Planner Addict in your life. Whether that be you or a friend! The second Gift Guide is themed for your Business Bestie. This may be a fellow #LadyBoss or co-worker that you want to spoil this year! The third and final Gift Guide is themed for the Homebody. This could be someone who loves home decor and entertaining, or a book lover who prefers to stay in on a cold winter’s night to relax and enjoy the comforts of home. Of course, with all three of these gift guides for 2016, I will include links at the bottom of the post where you can check out these items, start making your 2016 holiday gift list and get to shopping. So, I hope you’re excited for this series!
I hope this Holiday Gift Guide gives you some great inspiration for the Planner Addict in your life! Feel free to leave your gift suggestions for planner lovers down below to add to the holiday gift giving goodness!