I hope you all enjoyed my written review of the ClamCase Pro! In case you are interested, here is the video unboxing and mini review I did for my YouTube Channel {youtube.com/MissTrenchcoat}. I really do love this case, I definitely prefer it to most other iPad keyboards for a few reasons.
- It connects completely to the keyboard to make a faux laptop: I do not like some other keyboard cases where the iPad sits freely in a cut out space on the top of the keyboard because that means you have to be sitting at a desk or table to use it and I do much of my writing in bed or laying on the couch.
- The keys replicate the MacBook style keyboard: The keys on any keyboard can really make it or break it and the fact that this case replicated the MacBook Air to the best of its ability means that typing on it feels familiar to me. Yes, the keyboard is slightly smaller, however, this is probably one of the best external keyboards I have ever seen for any device.
- Hot Keys: The Hot Keys on the top bar are absolutely on point and extremely helpful. I know some other keyboard cases that are missing hot keys or don’t make the best use of them and all I can say is these are exactly what I need and as an added bonus, no regular keys on the keyboard have been removed to make room (I have seen some others that remove extra “return/enter” keys or some of the lesser used punctuation marks to make room for additional keys- not cool!)
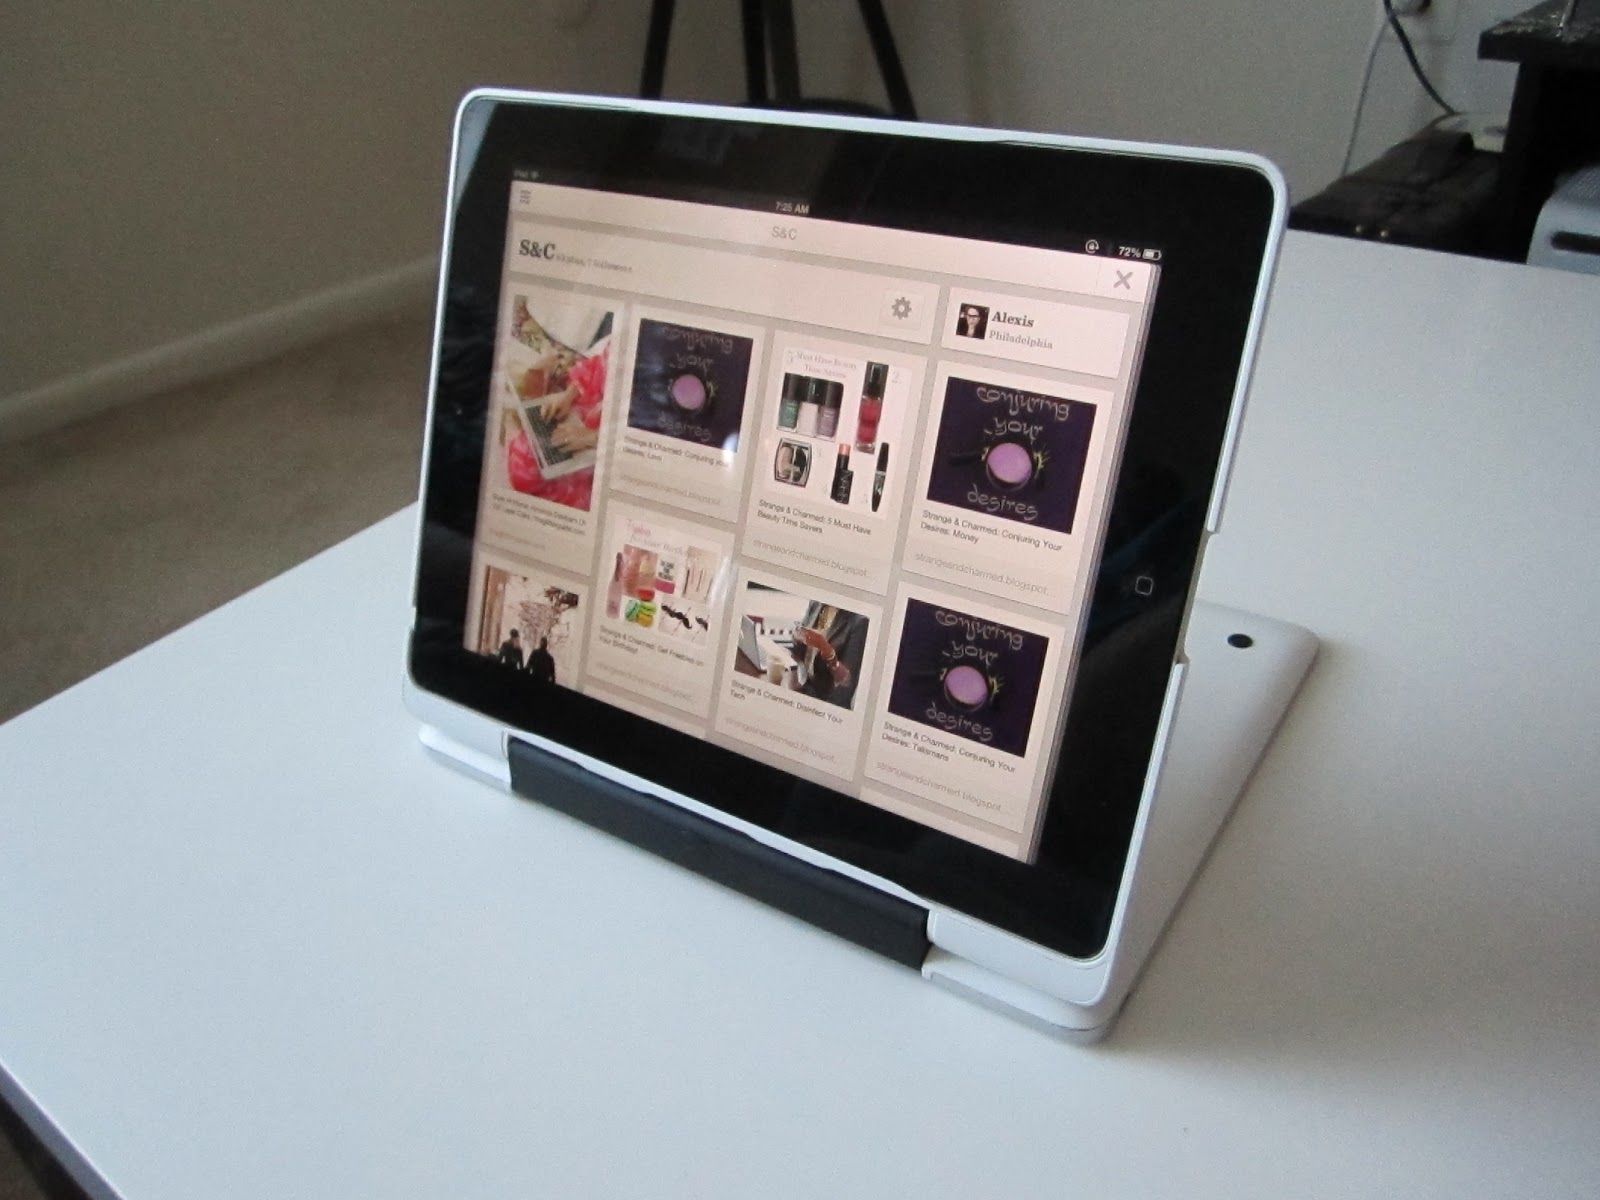
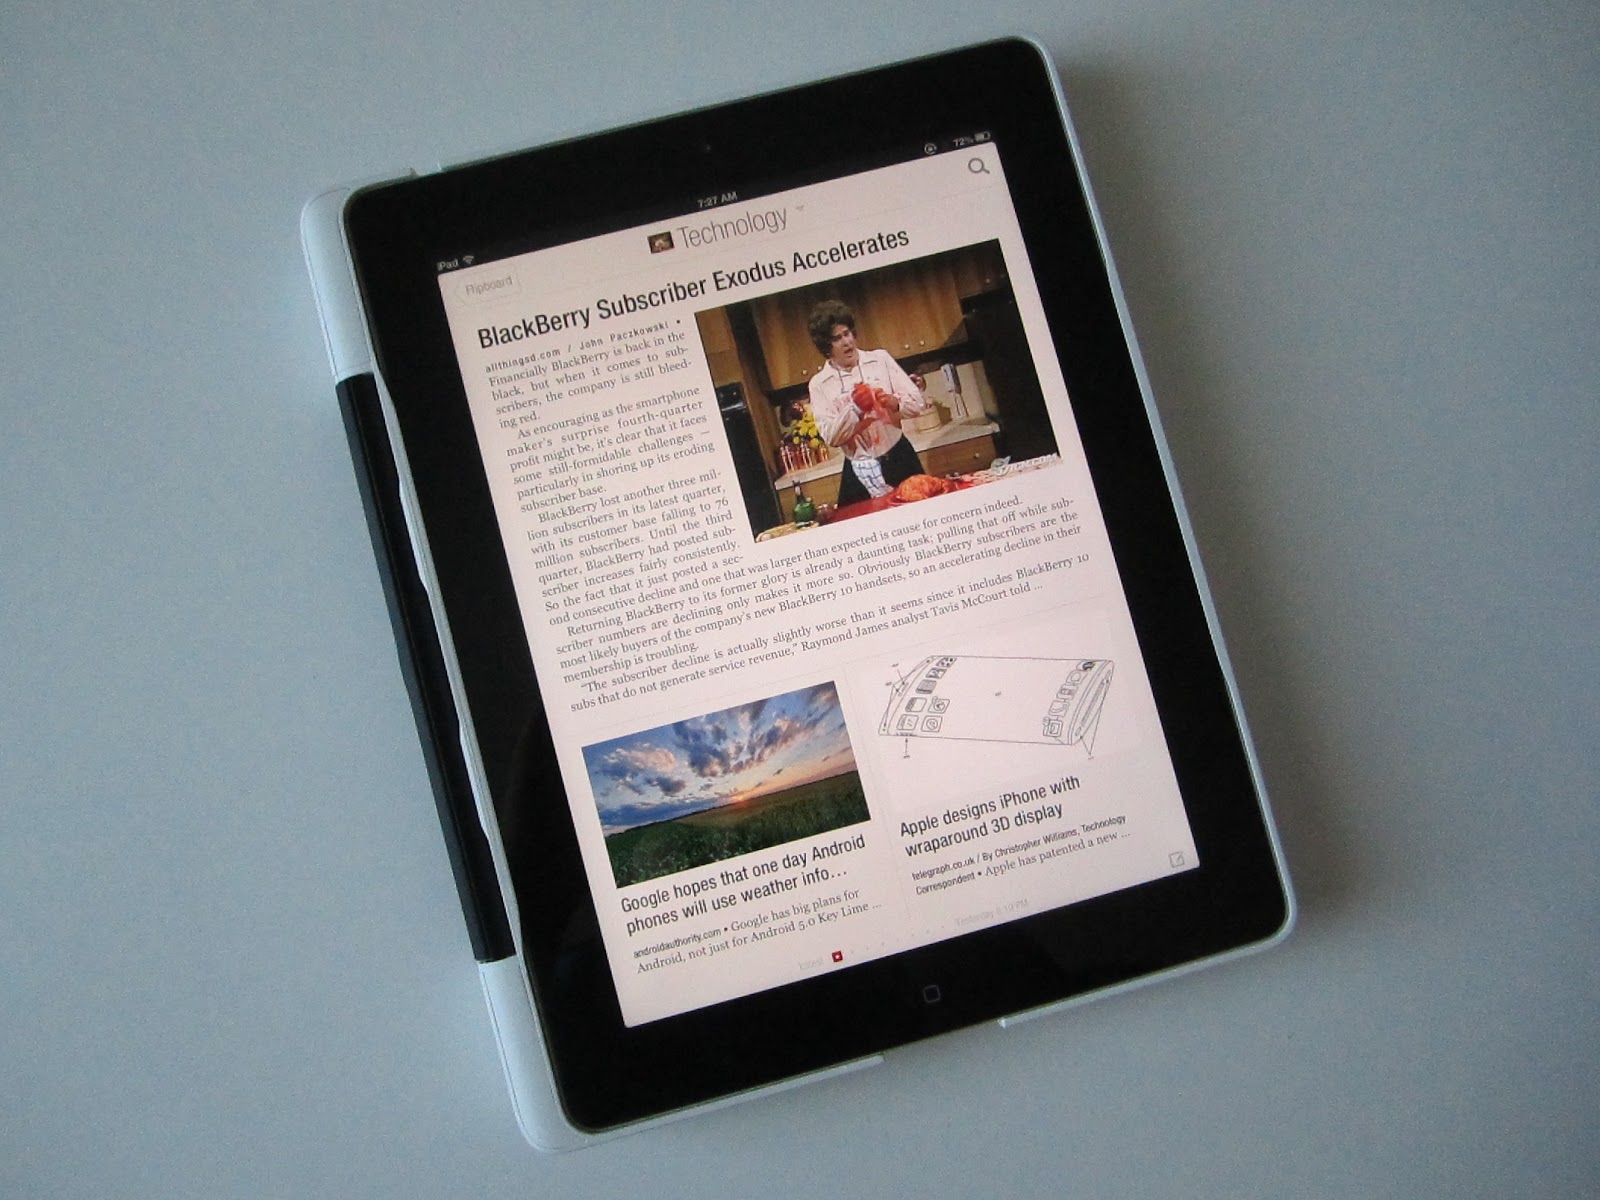
- The multi view stand options: This case is not just a faux laptop, but also an excellent case for viewing media, and even reading. You can prop it up in a number of ways that really make it a completely functioning case.
So, do you have the ClamCase Pro? What are your thoughts? Feel free to leave any questions or comments below!