With holidays quickly approaching, I know that a top priority for many of us is creating memories with our friends and families. Whether it is over a delicious meal, a fun outing or some extra special gift exchanging, there are plenty of special moments ahead for us in the next few weeks, and many of us are going to want to capture as many of them as possible. I know not all of you own DSLR cameras, and that’s certainly okay! I have been making a point with this series to also include options for those of us who may be using compact cameras or even smartphones as our primary means to capture images. Well, todays topic is all about smartphones, specifically the Lensbaby LM-10 Sweet Spot Lens for Mobile! I’ve shown you DSLR lenses in the past, and now I thought it was time to talk about mobile lenses!
Now, in all fairness, I don’t necessarily believe that you need lenses for your smartphone in order to take nice pictures, but I think they are one of those things that you can use to really achieve interesting effects that aren’t really possible or at least, aren’t really authentic looking when you use an app! The Lensbaby Sweet Spot Lens for Mobile devices is a “selective focus” lens that works in conjunction with their app that is available for iOS & Android devices, and in my opinion, helps to give smartphone photos that interesting blur and depth of field that we normally see on DSLRs (see my guide to Bokeh for more info on blur and depth of field).

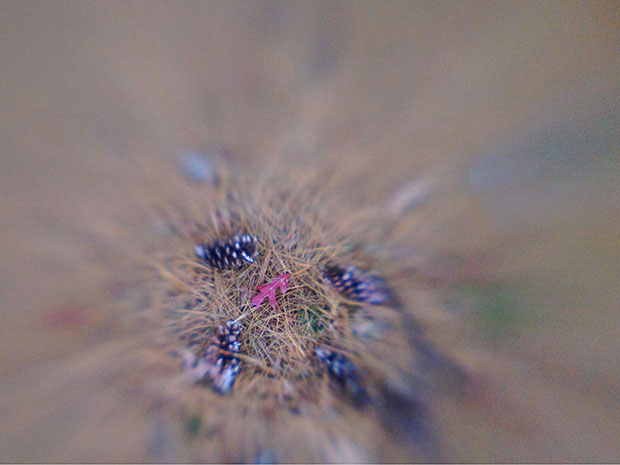
So, what exactly is “Selective Focus”? It is basically when a lens allows a camera to choose an area of the image to stay in focus, while the rest of the image is dramatically blurred out! As you can see from the image above, one area of the photo, the area around the flower, is in focus, and then the rest of the picture fades into a lovely blur. The effect is very strong and really helps you to assign priority in your image for where the action is, or where the important element is, and then everything else is just a haze of colors.
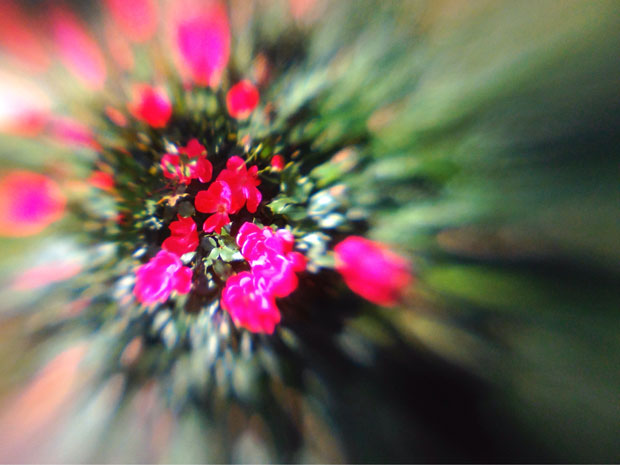
Now, here is more of that same flower bush, now with the focus shifted to the upper left on a cluster of flowers, as opposed to the lower right in the previous photo. How did I achieve this? Well, the Lensbaby LM-10 works in conjunction with the Lensbaby for Mobile app, and within that app, you can actually move around the “sweet spot” or the center of focus, across the plain of your image. So you have control over what is in focus and where in the image that focus lies.
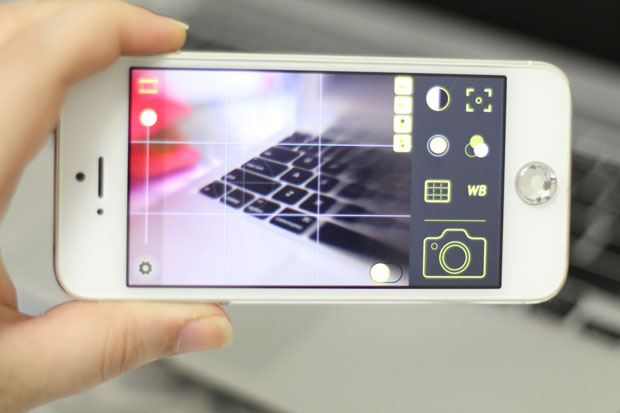
Here you can see what the app looks like in action. You may be able to see the faint circle with cross hairs towards the center of the app that you can move and control with the touch screen. The app is actually a pretty crucial part of using the lens, because without it, the lens actually ends up flipping your image upside down, so the app actually reorients the images properly and also adds extra functionality with the focusing options. You can also see, the app includes a few different features for controlling color balance and such- all are pretty standard, but good to have in-app while you’re shooting!
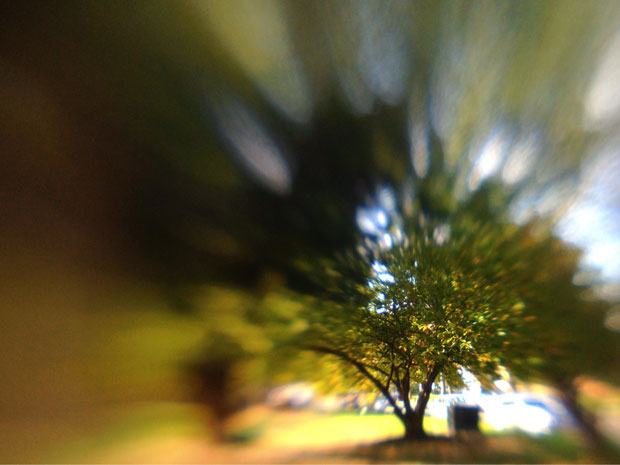


Here are some more shots I took while taking a walk recently. I really love the way you can change the focus and really allow objects to pop. Literally, pop, because I feel like the lens gives this sort of starburst shaped blur, which I really like!
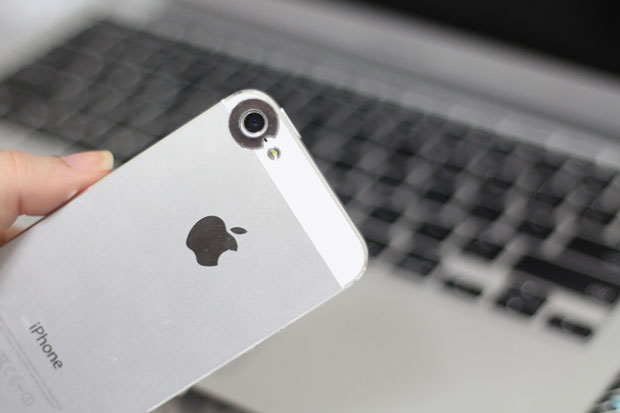
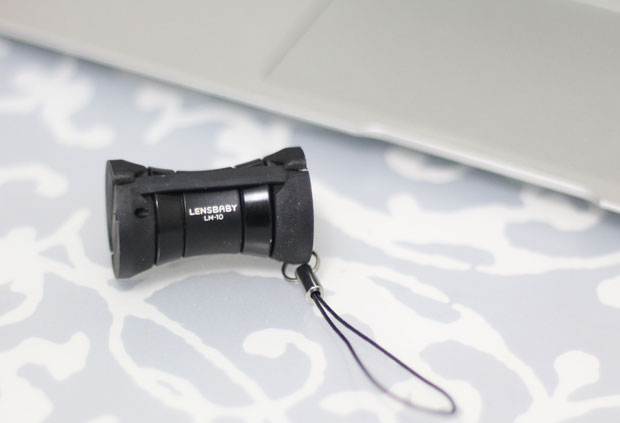
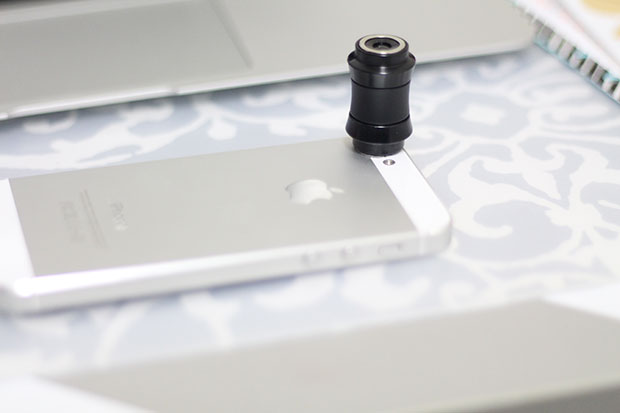
Okay, so lets talk about the lens itself, pro’s and cons style! The LM-10 isn’t your average smartphone lens. It’s actually quite unique in my opinion which is its major pro! First of all, it connects to your smartphone via a secure connection made with a magnetic anchor that you actually have to attach to your phone. It’s just a magnetic metal ring that goes around the lens of your smartphone upon which your lens will sit and attach firmly! The ring itself is quite slim and does remove easily. Lensbaby even includes duplicates of the rings in case you have multiple devices or if you find that you need another (I was quite glad to see that because you do need the ring to really make this function and having spares is important)!
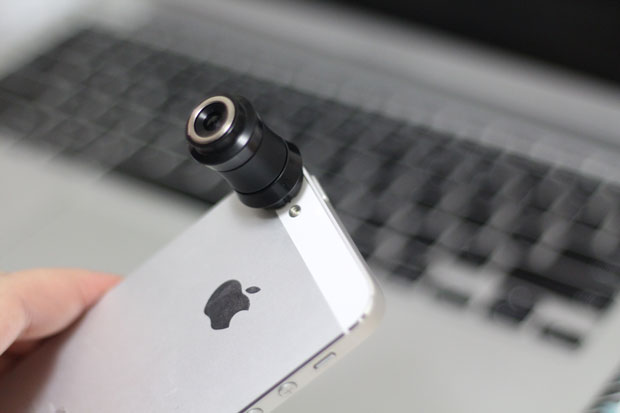
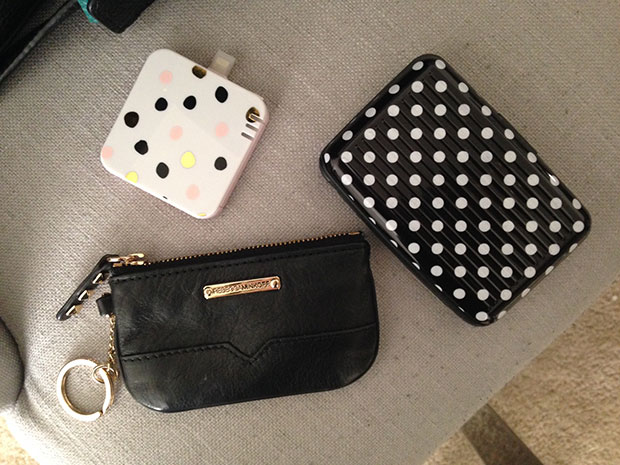
Obviously you can tell from these images that the LM-10 is a large lens! I will say it’s very heavy-duty and well-built, but still relatively light. It comes with a nice lens cover connected to a mini lanyard so you can attach it to a keychain or whatnot and easily take it with you. My only drawback with this lens is that in order to use it, I had to remove my iPhone from its case. For some people this won’t be an issue, and for me it was only a slight issue, but it was a con in my mind! Now, this lens is actually pretty pricey for a smartphone lens, coming in at $69.95. You have to keep in mind that this lens is a very well-built little tool, but I know for some of you, that price is going to be a deal breaker, but I do believe there are some of you that will actually find this lens to be a pretty good value, especially if you are someone who does not own a DSLR and has no intentions of purchasing one anytime soon. For those of you who do really use your smartphone as a primary means to take photos, either of your family and friends to document life for project life, or as a means of artistic expression to share on your social media, this is something I would put on my wish list this holiday season because it really is so unlike anything else and creates images that are pretty breathtaking in my opinion!
Thank you so much to Lensbaby for providing this lens for me to review! Please help to support the brands that help make content like this possible by checking out their site for more photo examples and their blog for more awesome photography tips! You can also purchase this lens directly from their online store as well!
So, what do you guys think? Would you ever use a dedicated iPhone lens to take pictures? Did you like the pictures I took with the LM-10 Lens? Let me know what you think the in comments below and if you have any other products you would like me to review for this series!
xoxo,