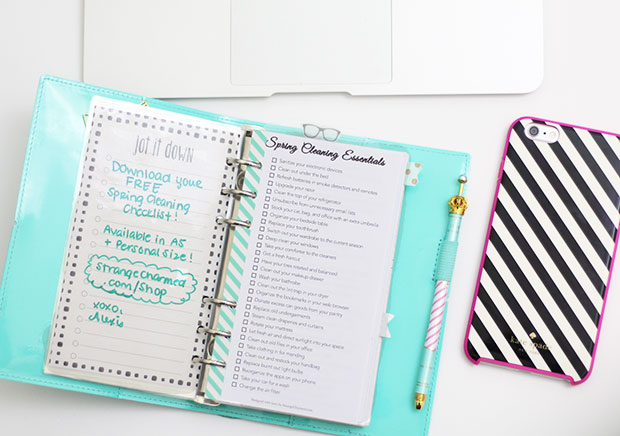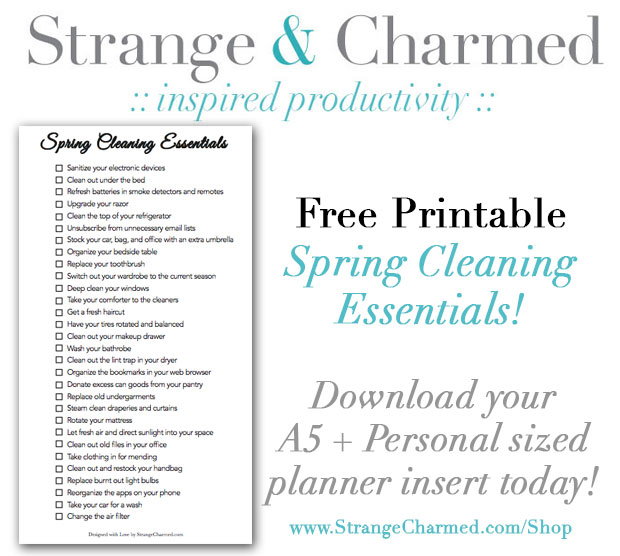
Spring Cleaning Your Planner
Happy April Planner Friends! Well- I am officially back from my Entrepreneurial Spring Break and now that it’s over all I want to do is fill my planner with new ideas and inspiration to carry me through the summer. While I was on spring break, I did some decluttering around my home, sent a bunch of clothes to goodwill, and gave away some of my unused accessories to family members. I really wanted to do what I could to make room and pass on what I could from my life, primarily to show gratitude for many wonderful blessings that have come into my life recently, but also to keep myself in balance. Balance for me is one part streamlining of what I already have, and another part planning for what’s to come. So, in that spirit, the time has come to Spring Clean my planner as well! While I am going through this process, I thought that I would share some ideas to help you spring clean your planner as well! So, this topic is going to be a 10-part series during the month of April, BUT you can come back to this series or use these ideas year round to help you reset your planner when you need it. I hope you enjoy the series and that you will come back to my site often this month to see it unfold! Feel free to share and posts you particularly enjoy as well- that would be lovely!
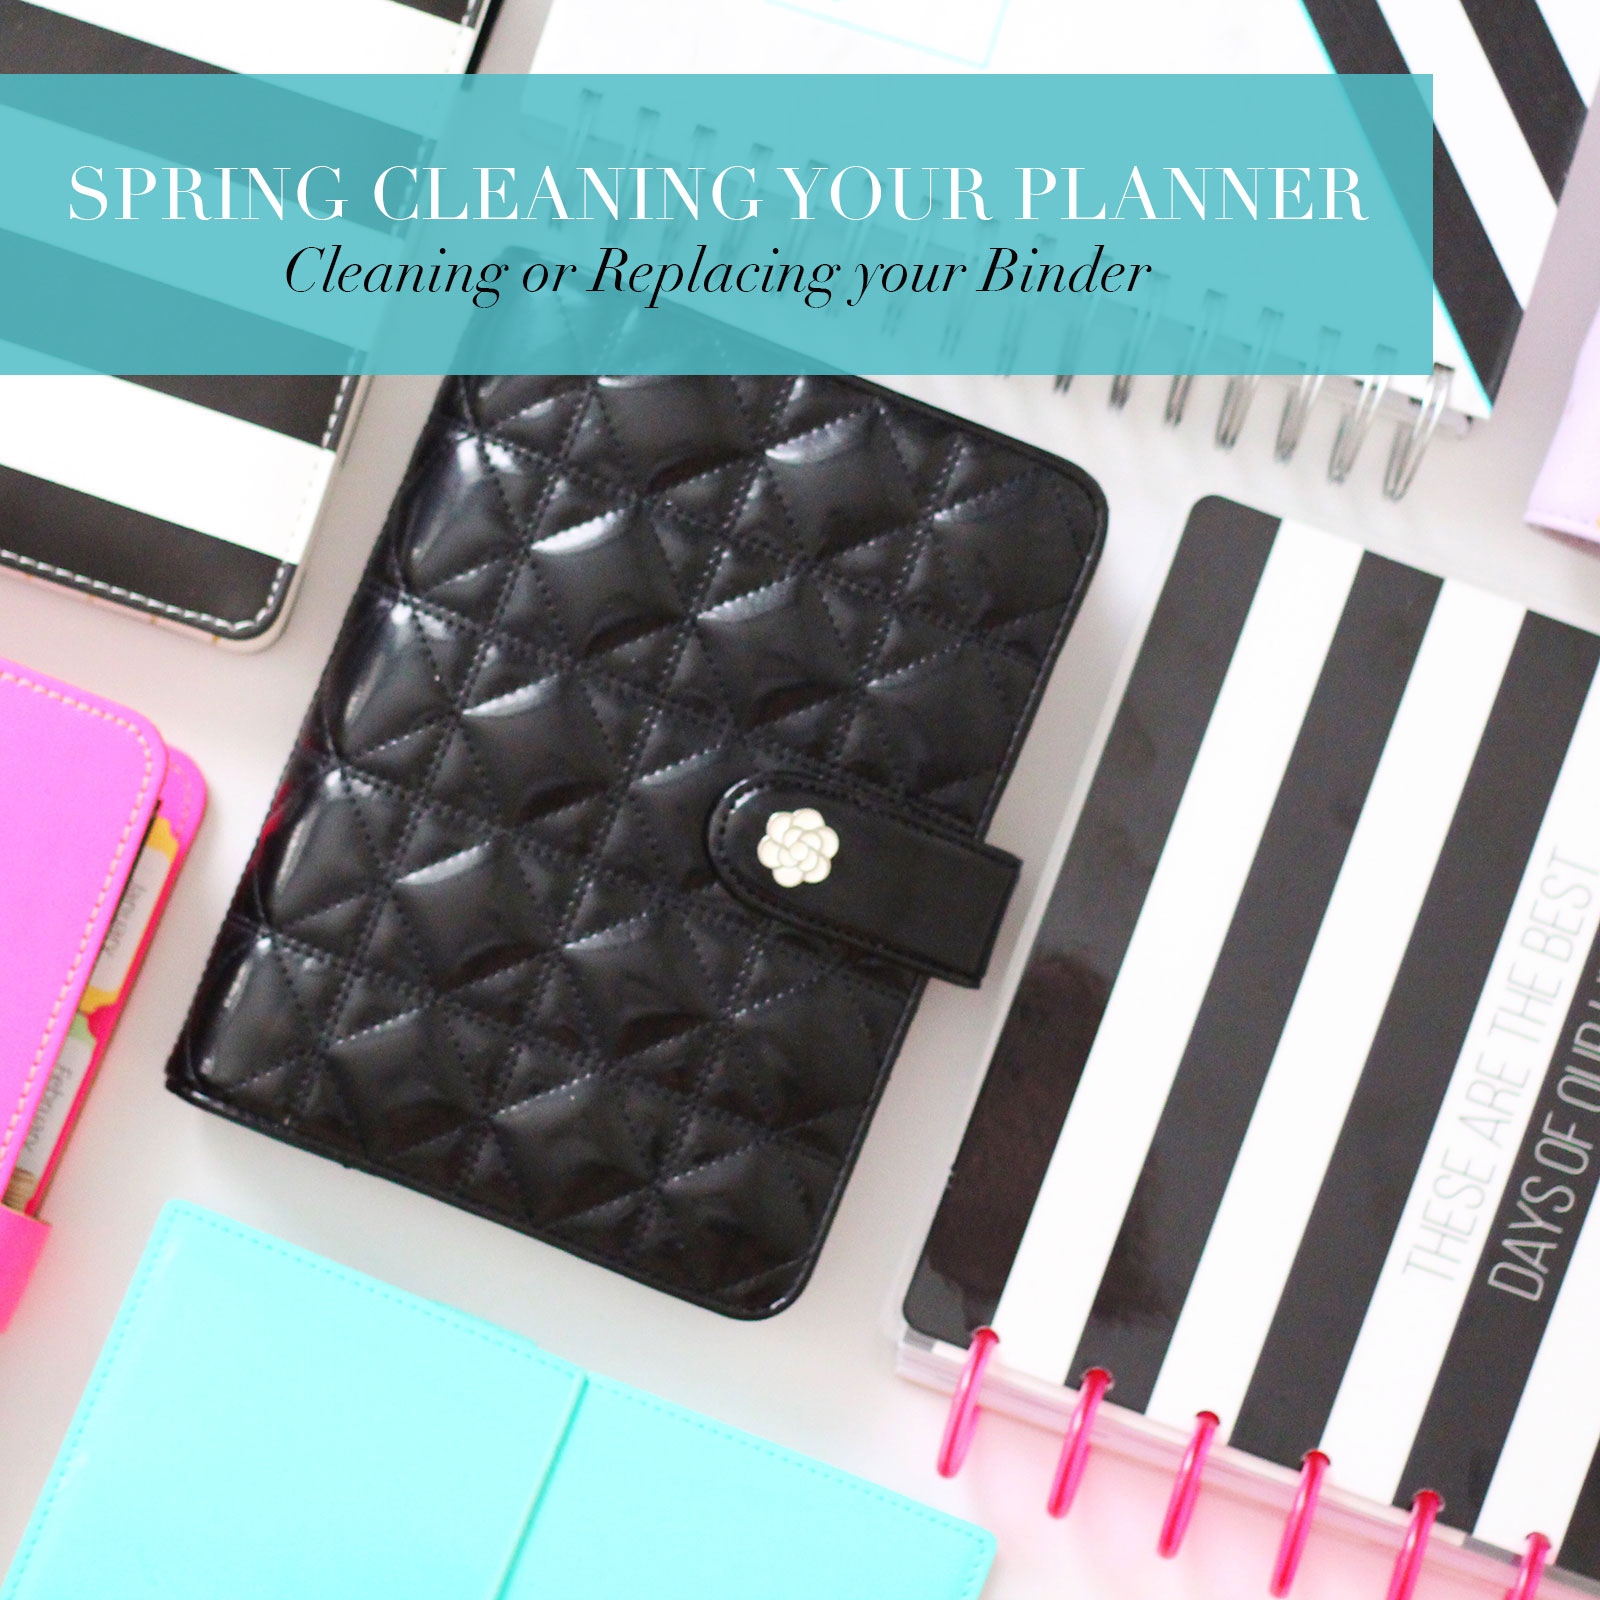
Part 1: Clean or Replace Your Binder
Depending on the age and wear of your planner, one of the quickest ways to spring clean it is to literally give it a good scrub or replace it altogether. Many of us in the planner community see our planners as an accessory, not just a productivity tool, so keeping our binders in good condition or swapping them out for the season is reasonable. Here are some helpful tips to get you started.
How to Safely Clean Your Planner
Correctly identify the fabric of your planner: Depending on the type of fabric or material used for the interior and exterior of your planner, you will use different cleaning products. Make sure to identify each material by checking and labels or paperwork that came with your planner, or by contacting the retailer directly. If you aren’t 100% sure of the material, I wouldn’t risk damaging it by using a product made for a specific material, however, a mixture of warm water and mild soap are a safe bet if you just can’t find the information. For any product you use, make sure to spot check the formula in a small, hidden area of your binder to ensure it does not do any damage or cause the color to run or fade.
- For leather binders I use a leather cleaner and conditioner cream.
- For cloth binders a fabric or upholstery cleaner used in small quantities is a safe bet.
- For faux leather binders I use alcohol free baby wipes.
- I also make sure to have a stock of Q-Tips and Lint Free Clothes handy when cleaning my binders!
Find the trouble spots: Before you begin cleaning your binder, I recommend assessing the damage and determining if there are any trouble spots. Cleaning up your binder is one thing, but dealing with specific stains is another. Don’t proceed with cleaning your binder until you have given it a once over and checked or any trouble spots like pen marks, stains or areas of rust/oxidation on any metal pieces. You will want to address these issues first with spot treatments specifically tailored to your binder material and the trouble spot. There are many different stain specific products available to help you spot treat your binder, like these.
Empty your planner: This may seem obvious to some, but remember to empty out your planner before you begin cleaning it. Check through and pockets and zippered areas and ensure everything is removed so you can get down to work!
Use a light touch: Whenever I’m cleaning any of my accessories, even my planners, I like to use a light touch so I don’t damage the item. You can always go back over areas with heavy build up if you are too gentle on a first pass, but if you are too rough you can do irreversible damage. Just be smart, work gently in small sections and don’t rush!
Let it dry: Once you’re done cleaning your binder, make sure to give it time to dry. Leather and faux leather binders tend to dry in a few hours, but if you have a cloth planner that required more product to clean, let it dry overnight before returning paper to it just in case! We wouldn’t want to ruin our inserts now would we?
If you’d like to watch my cleaning process, check out my 2017 Planner Setup Video where I give my leather binder a thorough clean at the start!
Replacing Your Binder
Of course, if you don’t simply want to clean your planner and want to replace it altogether- that’s a legitimate option. If you’re looking for something new, think about whether you want to swap your style or your entire system! It’s easy enough to swap one 6 ring planner for another in a coordinating size, but its a little more involved if you want to change from a ring bound to a travelers notebook style, for example. To get some great inspiration for your next planner purchase, check out my Planner Resource Guide Post on Picking a Planner! It covers some great basics for what’s available planner-wise to get you thinking about your needs.
I’d love to hear about your experience with cleaning your planner or picking out a new one for the season! Feel free to share your favorite products or planners down in the comments and be sure to share this post if you found it helpful!
xoxo,