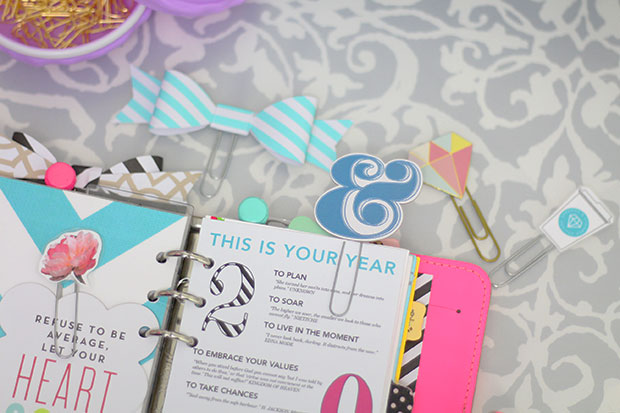
Ever since I showed you guys those cute little bow paper clips I made for my Filofaxes, you have been asking me to do a DIY tutorial on how to make them! Well, ask and you shall receive, right? I Actually put together a video with not one, not two, but three DIYs for making paper clip accessories for your planner so that everyone is able to create exactly what they want for their planner.
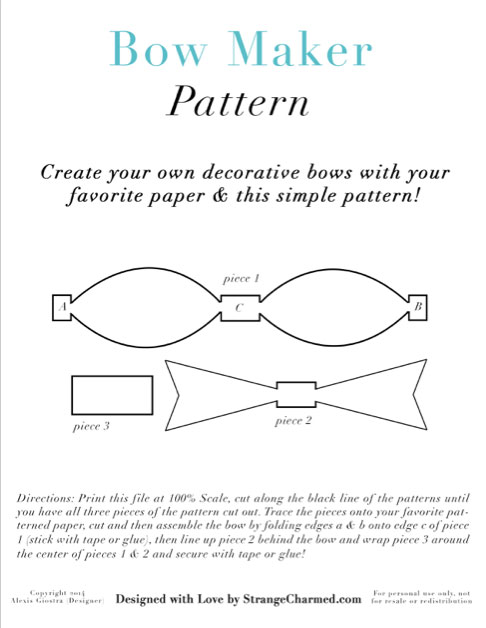
This is a low res image, download the full file via the link below!
To go along with this DIY video, I created a special Bow Maker Pattern Printable to act as a template for creating your own bows. I show you how to use this template in the video, but the file itself also has directions as well. Feel free to download this file and make yourself bows to your heart’s content! But remember, this printable is free for personal use only. Commercial use of this file is prohibited, and please, if you want to share the file with friends and family, link them to this post or my YouTube video instead of directly sharing the file!
Three DIYs, you read that right! So, other than the bows, I also show you how to make page clips with chipboard elements as well as how to make clips from printables and any other images or icons you may find! If you can print it or if it’s made from paper, you can turn it into a decorative page clip for your planner!
In the video I use my new 2014 Favorite Things Sticker Set as a template for some clips I made by printing the PDF on heavy printer paper instead of on sticker paper! I love this new Sticker Set of course because it’s filled with some one my favorite images and icons from the year! Think pink peonies, coffee cups, perfume bottles and of course, stripes! You can purchase this set from my shop and use it as stickers or to make your own page clips as well!
So here is the video linked above! This is definitely one of those tutorials that is better explained visually, so if you would like to see the three methods I used to make some lovely embellished paper clips for my planner, check it out! Of course, if this video helped you in any way or gave you some new planner inspiration, please make sure to share it in your social media and tag me @MissTrenchcoat! It would mean the world to me!
xoxo,
This article was first published on Strange & Charmed on December 18th, 2014 and is being reposted as part of my Holiday Prep Hiatus! For the months of November & December I will be recycling some vintage S&C content that you may have missed in order to give myself some extra time to finalize projects and spend time with my family during the holiday season. All reposted content will be marked as such. I hope you enjoy this blast from the past blog post!
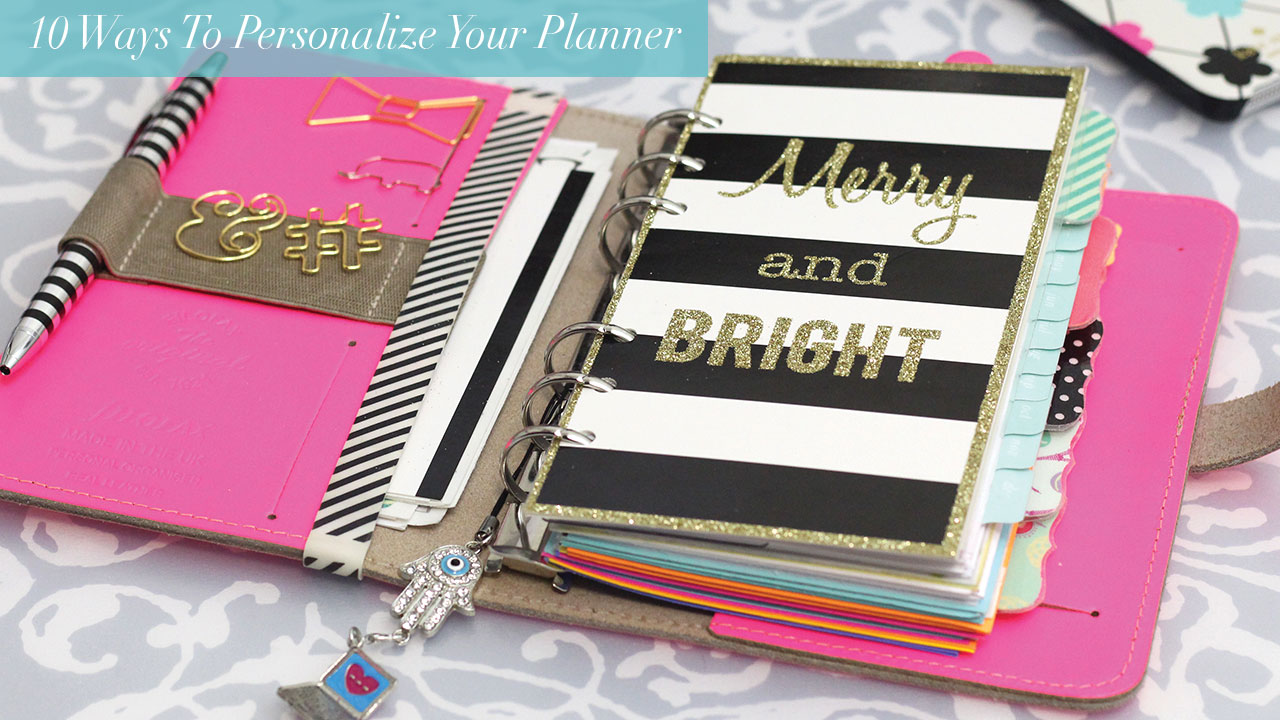
The great thing about planners is that there are nearly an endless amount of ways to customize them and add personality to keep you motivated with your daily goals and to-dos! I am asked all the time about my planner personalizations and so I thought it would be fun and helpful if I gave you a run down of 10 Ways to Personalize Your Planner! Although I use a Filofax Original Planner in Fluoro Pink, you can use most of these customizations in any planner you own and use, from a Kate Spade, to an Erin Condren and even a Sugar Paper planner!
#1 Pens
A really cute and coordinating pen is must have item in my planner that I think adds a lot of personality to it. There are quite a variety of pens out there in planner world, and among them multipens like the Pilot Hi-Tech C Coletto are very popular because they give you the ability to write in a variety of colors! Friction pens as well are very popular because they are erasable and as a planner person, you know how scary it can be to write in an appointment and then have things change!
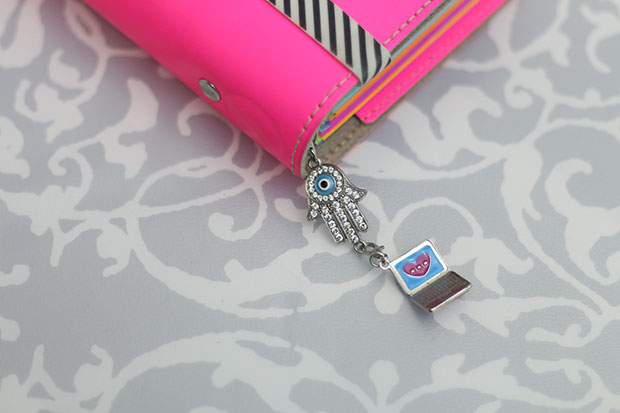
#2 Charms
Planner charms are a very fun way to add personality to your planner because you can literally use a wide variety of charms to coordinate with your interests. Although many sellers on Easy make custom charms in fun shapes like coffee cups, cute animals and even desserts, you can find charms at your local craft store or use ones off a keychain!
#3 Custom Dashboard
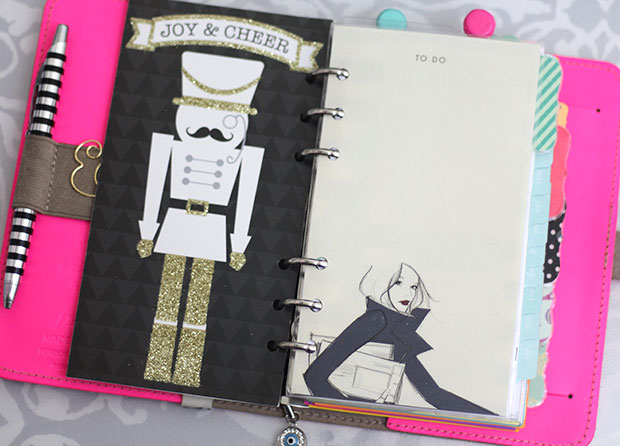
As one of the first pages in your planner, a custom dashboard can do a lot to help motivate and inspire you whenever you open it up! It’s simple enough to make your own dashboard by laminating pretty scrapbook paper or cutting down an acrylic screen print to size. I recommend using acrylic prints or laminating regular paper so your dashboard is coated and more durable- it also works well for holding and removing sticky notes!
#4 Custom Dividers
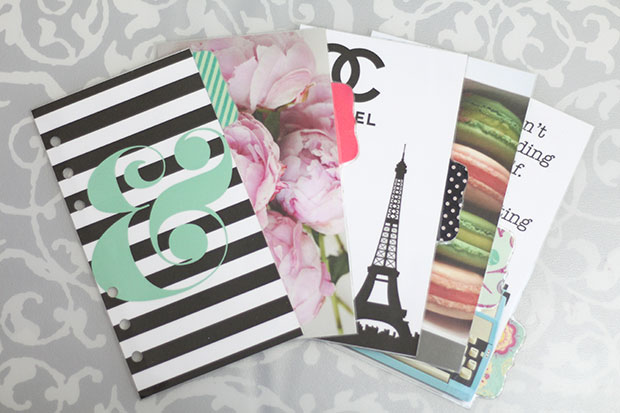
Custom dividers are an excellent way to create a theme for your planner. You can purchase sets of themed dividers on Etsy, but I like to make mine by printing out images and pictures, adding tabs and then laminating everything so it’s nice and sealed! Use your own pictures, quotes, and snippets from magazines to create a collage for your dividers or stick to pretty scrapbook papers if you like a simpler look!
#5 Page Markers
I love to use page markers to help me quickly locate important notes and pages in my planner. There are lots of different varieties of page markers; magnetic ones, paper clips, and even adhesive tabs. They are a great way to add color and style to your planner that you can appreciate even when your planner is closed!
#6 Printable Inserts
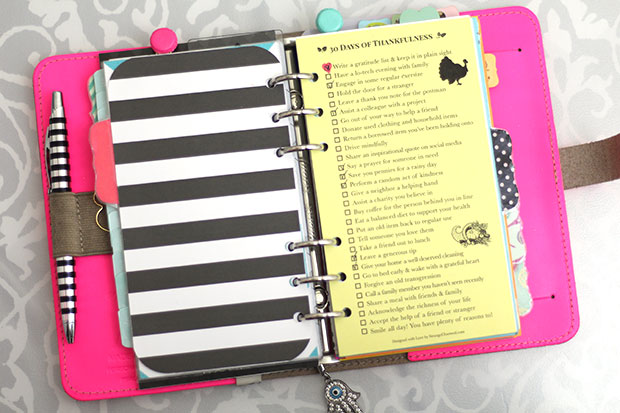
Although your planner may come with a set of dedicated inserts, there is always room for more, specifically, for fun and inspirational inserts that help to add personality to your planner and keep you on track with more than just your to-dos and schedule! The insert above is actually a free printable checklist titled 30 Days of Thankfulness that is available through my shop! Inserts like this are a great way to add inspiration to your planner and to add a little fun to your days!
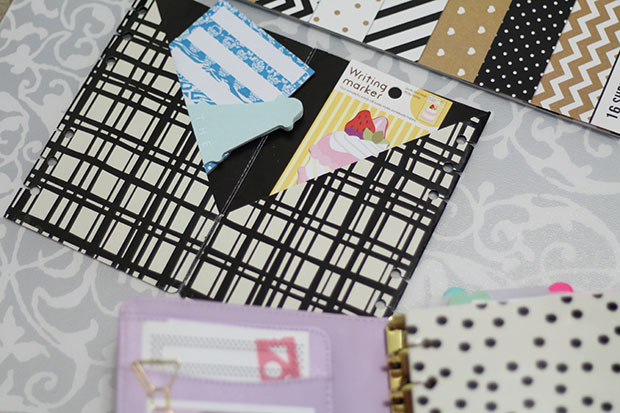
#7 Stickers & Washi
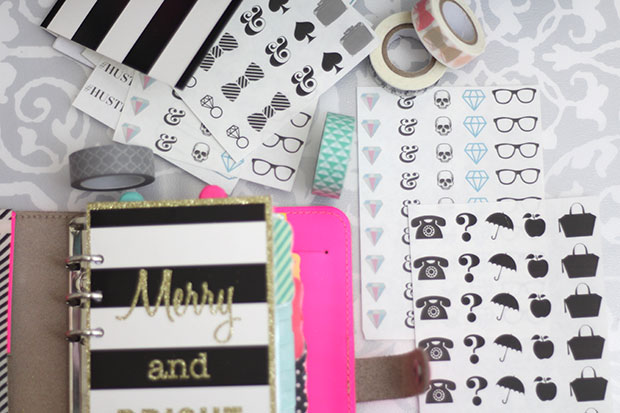
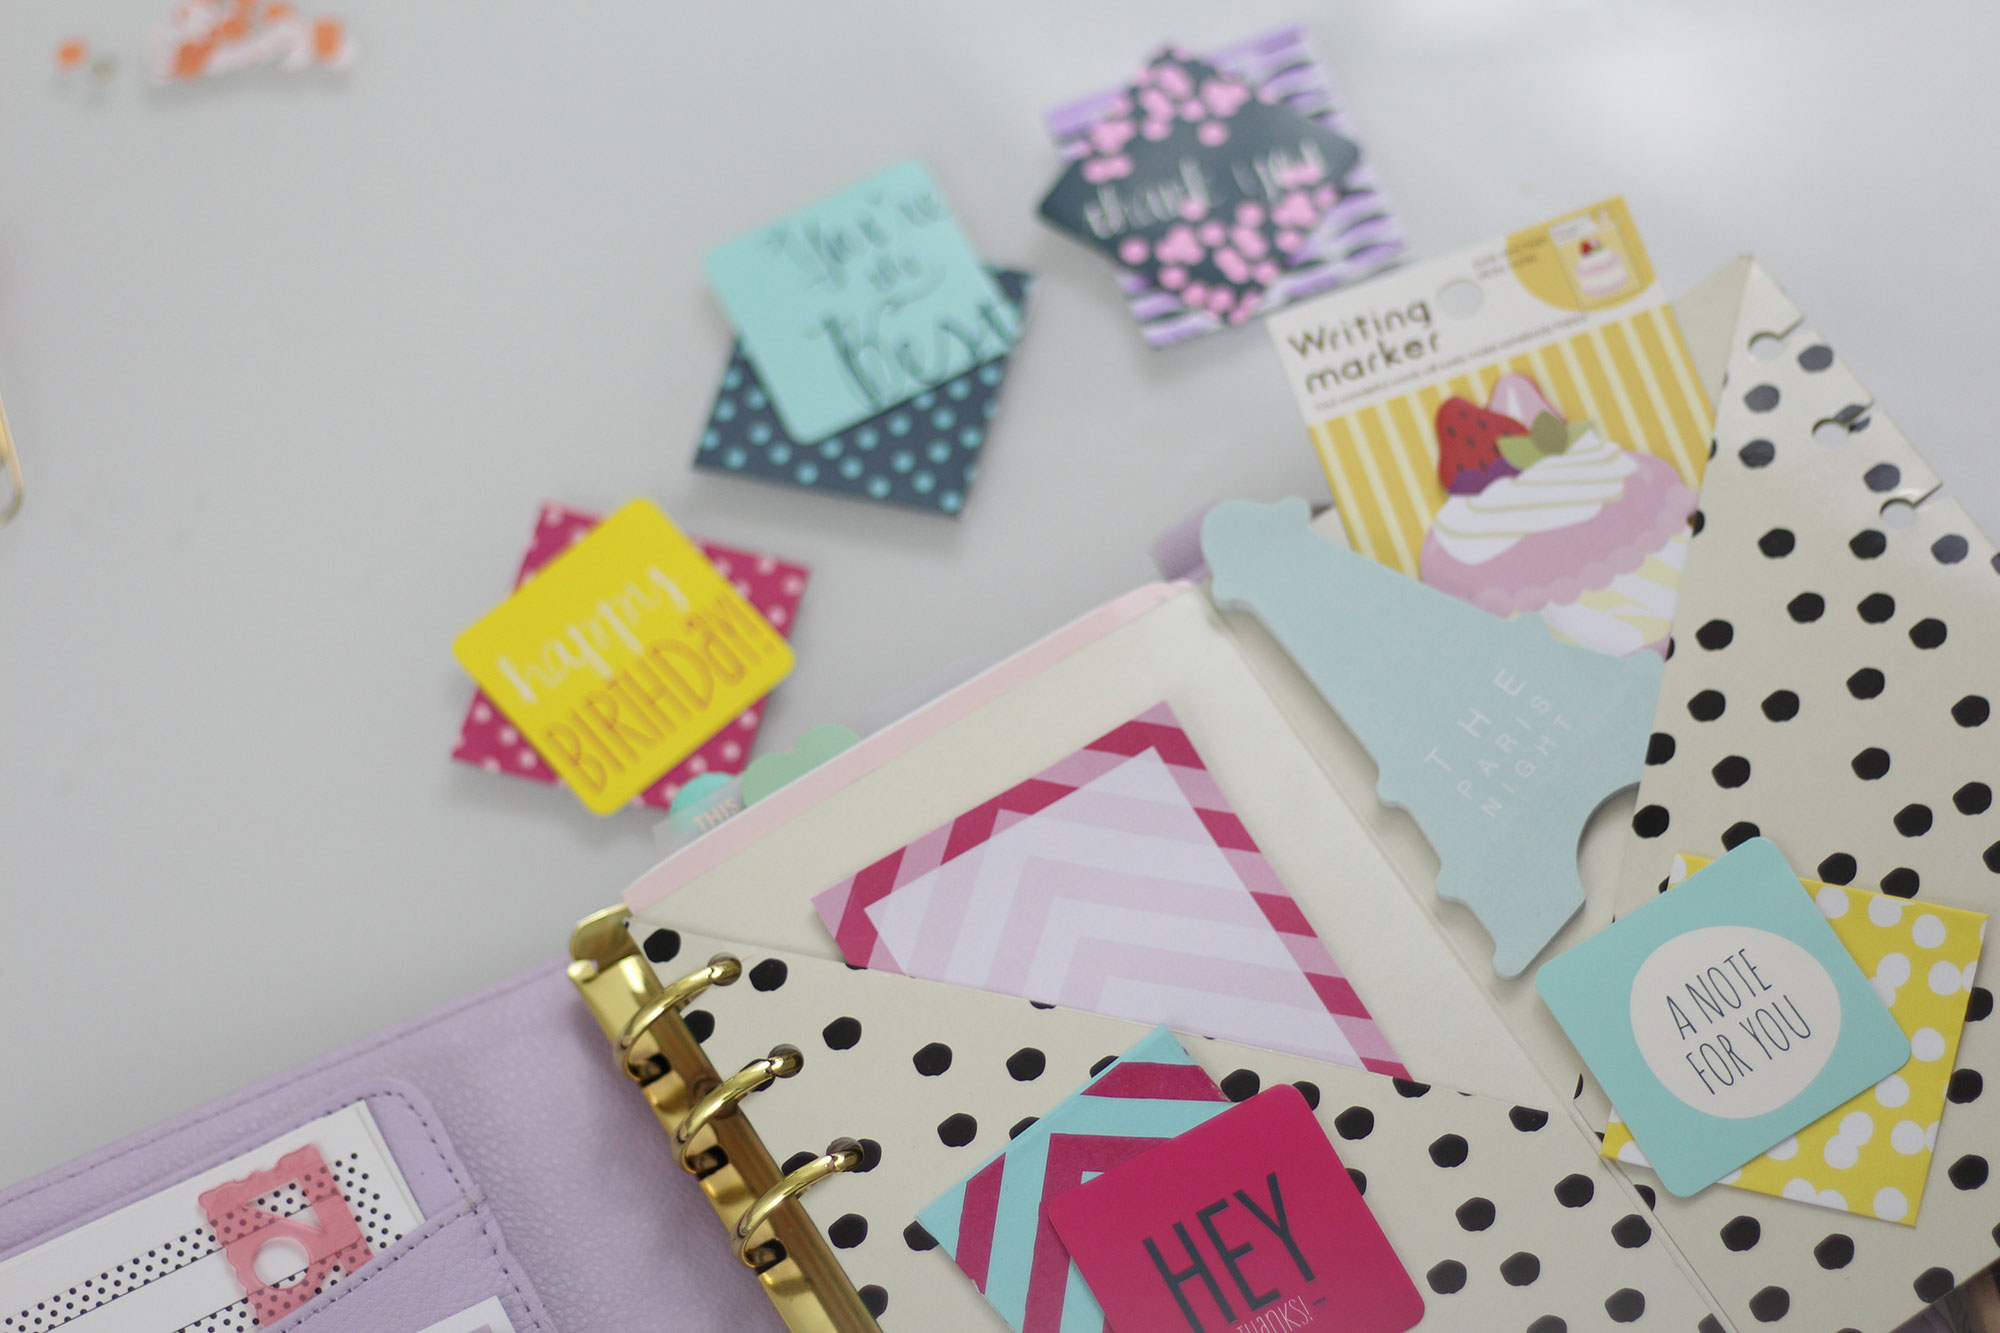
Although planner decoration isn’t for everyone, if you do want to add a little fun and interest to your planner pages, using stickers and washi tape is a fun way to do it! I have quite the collection of washi tape and I always have more than enough stickers around because I usually make my own and print them onto full sheet labels! The sets shown above are currently for sale on my shop, so if you want to print your own stickers at home and like these designs, feel free to check them out!
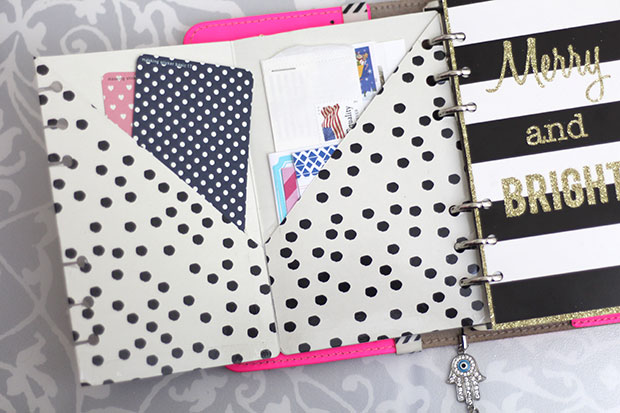
#8 DIY Folder
Not all planners are created with equal amounts of pockets and storage, so if you need an extra space to store stickers and notecards or whatever else you need to keep inside your planner, check out my easy DIY Folder Tutorial that shows you how to turn a regular file folder into the perfect little storage solution for your planner!
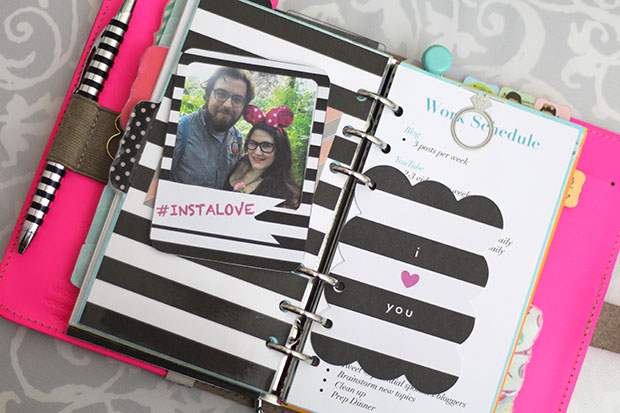
#9 Journaling Cards
Journaling cards are a great way to add instant decor and inspiration to your planner. They can even act as page markers, dashboards and even dividers! This #INSTALOVE card comes from my personal collection of printable journaling cards and is designed to be a frame for square, Instagram style pictures. This is a great way to keep photos of your friends and family with you in your planner! You can also use project life cards and MAMBI pocket pages like this striped card above!
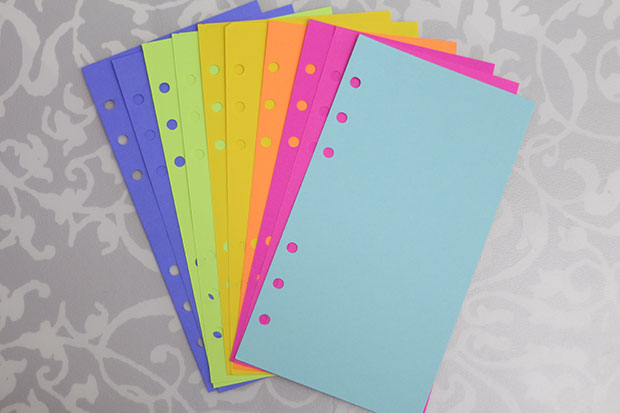
#10 Colorful Paper
Why use plain old white paper in your planner when you can quickly add interest to your pages by using rainbow-colored copy paper? I keep a stack of colorful papers around and cut them down to size and punch them in my planner. They are great for color coding notes or visually dividing up sections or just adding a little fun to your pages!
Of course, this wouldn’t be a complete planner post from me without a fun video to go along with it! If you would like more details on some of the items I have shown in this post, feel free to check out this video!
As always, I hope this post (and video) were helpful for you and gave you some ideas for your own planner! If you have other planner personalizations that I missed, please let me know about them in the comments. I’d also love to see pictures of your planners and how you customize, so please feel free to tag me @MissTrenchcoat in your Instagram pics!
Immediately after I received my newest planner, the Kikki K Lilac and Gold 2015 Time Planner, I went through something of a Filofax revival! All of a sudden I was super obsessed with my planner again, I scoured the internet for new inserts and goodies and started watching way to many planner set up videos for new inspiration. At some point, I watched a video where a woman showed her setup and briefly commented on a DIY folder she had assembled for her planner. I remember thinking it was one of the cleverest things I had seen in a planner in some time, and made a mental note to attempt to DIY one for myself, not knowing exactly how she had gone about making hers. A few weeks later, I found a little note in my planner that referred to this file folder DIY, and feeling crafty, I decided to see what I could come up with!
Many of you have seen exactly what the result of my labor was, and have commented on your interest in seeing a DIY on the topic. So, I went ahead and filmed a video where I walk you through how I made mine. As this wasn’t my original idea, I really wanted to find the source of my inspiration and link you all to the original video I had seen that had inspired this creativity, but for the life of me, I can’t find the video! I searched through my YouTube history, spent days searching videos trying to find the originator of this idea, but alas, I could not find it and thus do not know who I should credit for this idea, but thank you, whoever you are! I love this little folder I have made for myself and I think you guys will love this DIY because it’s really almost too simple!
I considered whether or not I should write out the directions to this tutorial, but I know I will probably get a bunch of questions on the process because I feel like crafty tutorials like this need to be seen, not read. So, below is the video where I walk you through the process. Here is a list of supplies I used and suggest for this project:
A Target $1 Spot File Folder
A cutting mat
A metal ruler
An exacto knife
A permanent glue roller
Clear tape
Scissors
A single hole punch
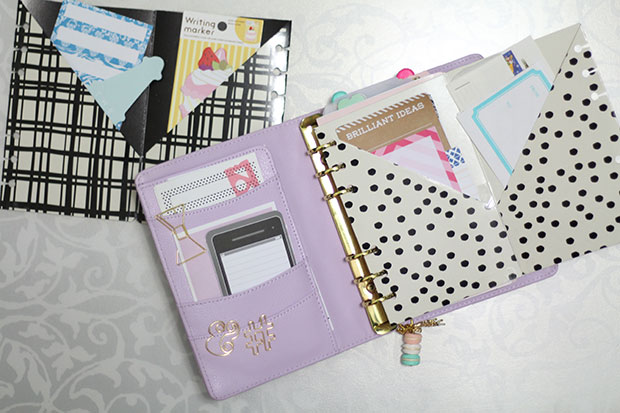
I hope you all have enjoyed this video and this DIY! I think this little folder is great for storing a variety of different planner supplies like extra paper, sticky notes, page flags, stickers and more! It can also act as a divider as well or even a dashboard if you keep yours in the front of your planner like I do! If you have a planner that lacks lots of pockets or if you just need a more unique storage idea, definitely take the time to try this out and share it with your planner friends as well!
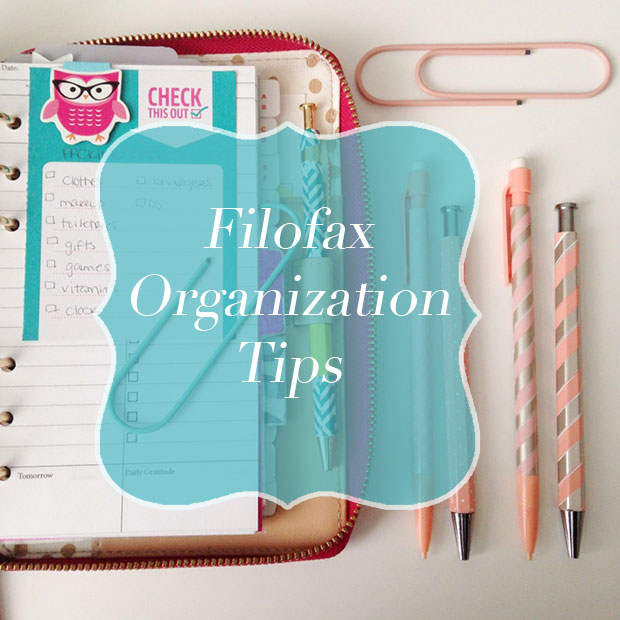
It’s no secret that I have been totally obsessed with Filofax’s for the last few weeks ever since I ordered my Kikki K Planner! In case you haven’t noticed, I call any and all of these 6 ring binder systems “Filofax’s” even though the term Filofax is a specific brand. It just helps me mentally distinguish between these 6 ring binders and other types of bound and spiral planners and agendas available. On top of my large Kikki K binder that is the equivalent to the A5 Filofax size, I also have a personal sized Kate Spade planner as well that has taken on the bulk of my day to day organization. Since I now work out of two Filo’s, I have been amassing different tips and tricks that I have found helpful as a new user. Here are some of the tips I use on a day to day basis to help keep my system organized!
Use old gift cards to easily store lengths of washi tape in the card slots of your Filofax. Simply wrap the tape around the card a few times and you can have a sample of washi with you at all times.
Use A-Z tabs to organize notes by topic for easy access. I do this in my Kate Spade planner and it helps me when filing and referring back to important notes or lists.
Use colored printer paper as scrap paper that will easily stand out against the white and creme of your regular inserts. It’s more affordable than using up Filofax or any other branded note paper.
Use sticky notes or page flags to enter in tentative plans to your calendar before committing to them in ink. This has been a lifesaver for me because my plans change all the time and I hate having to scratch things out.
Mark frequent reoccurring events with color coding dots. I tend to use them in my month on two page view, but you can use them however you see fit!
Tabs and dividers do not have to be arranged down the right side of your binder. Top and even, bottom tabs are also helpful ways to break up your sections and different information.
If you want to keep your work and personal calendars separate, try using more than one calendar style, one for each so everything has a place.
Create your own divided files for any large pockets in your Filofax using notecards or card stock. This will help to keep stickers, coupons, cash and more safety organized and contained.
Using a full sip Filofax as a wallet/planner combo is a great way to minimize the bulk in your bag! My Kate Spade planner is a full zip and sometimes I will run to the store with just my planner and a few cards stashed inside along with any shopping lists or reminders!
Using a multicolor pen can help you color code without having to carry around multiple pens. The Pilot Hi-Tec C Coleto Pens even have pencil inserts.
Use a magnetic paperclip or binder clip to hold together past calendar pages to keep them contained. This also makes it easy to flip to the first clear page.
Wrangle loose or small items in a clear zip lock pocket (usually sold separately).
If you don’t decorate on the go, leave stickers and excess supplies at home. Don’t feel the need to carry around excess stationary just because its pretty.
If you have handwritten notes that you refer back to often, type them up to save space and punch them into your Filofax (you can print smaller than you write).
Archive notes and calendar pages often if you don’t need them with you. You can use a secondary Filofax to store archived pages or even a box.
I hope you have learned something new from some of these tips. Which tips are your favorite and which other tips do you rely on to keep your Filofax planner system organized? Please feel free to share them in the comments below!